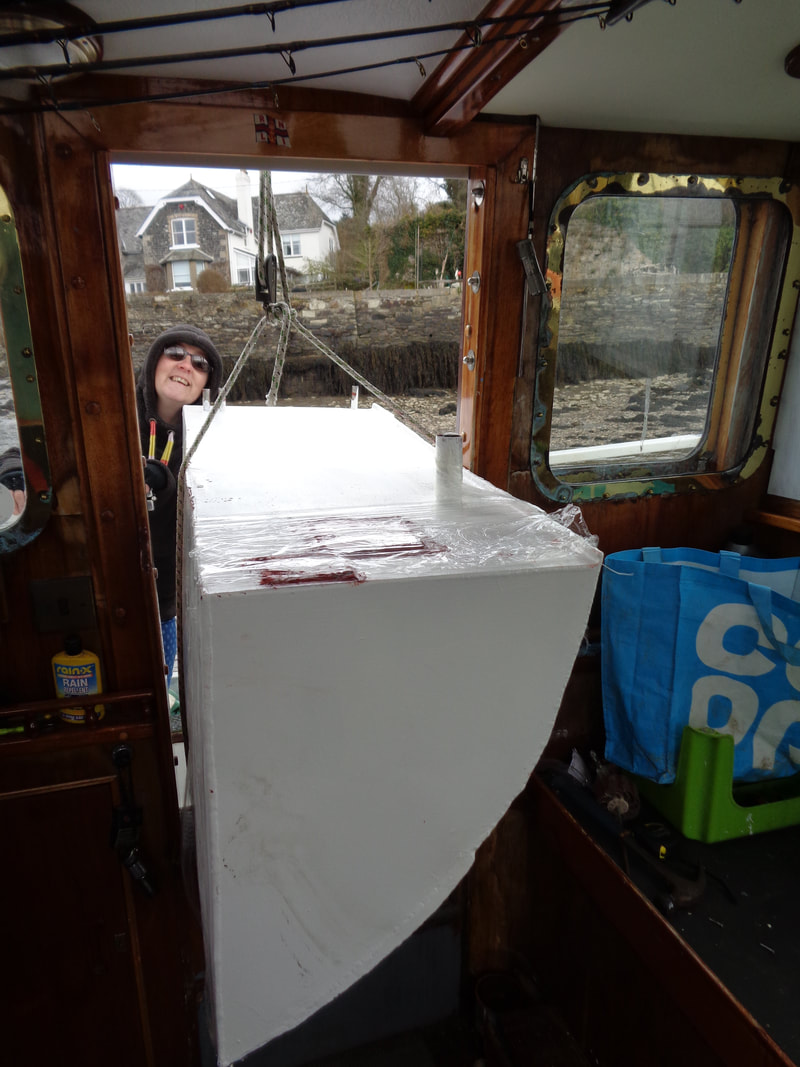
 Finaly have the tank fisnished and ready to go back in to its old home aboard Roysjoy. It has been a pain in the backside and realy set us back 4 mth but something we could not do at a later date . So the paint was dry so was the weather and we loaded up the work boat with the tank + 140ltr to put aboard . The tank weighed about 90kg and not the easiest thing to get a grip on , so it was craned through the wheelhouse door with the aid of the main boom . This made it fairly straight forward to do with just a few scrapes of the paint . the hardest part was to get it in the aft cabin down the companionway steps over the bunk and under the wheelhouse deck . After a lot of shuffling nudging and jammed fingers it was almost in but due to the low location i was unable to get it to go up on to its bearer . This is when Jake had a great idea of using a line through the access hole i had cut and up to the sheet winch , This worked a treat and a couple of turns it was in  Last job of the day was to fill the tank up and let it settle in for a day or 2 before glassing in the edges and supports .
Total of 320ltr in and we are still not full confirming the old fuel guage was not working .
0 Comments
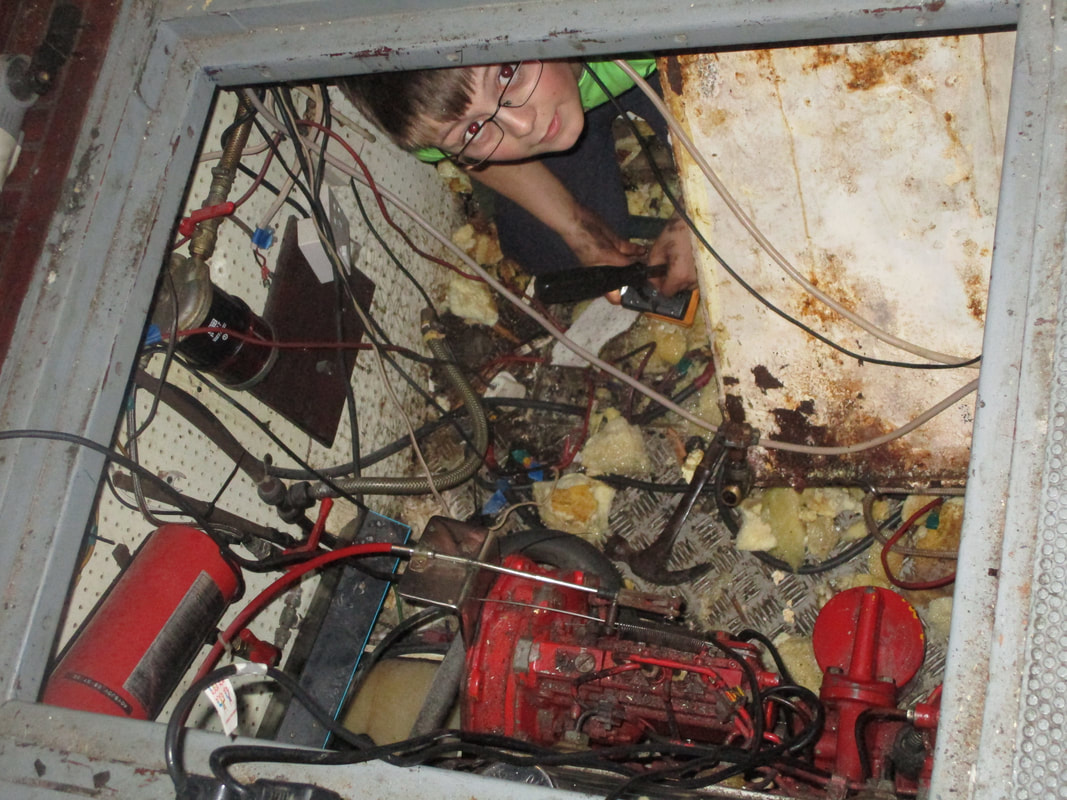
 For us lately dry days are a premium so to have a dry sunny day and nothing else going on was a great excuse to get the family on board and to get on with some window sealing . So to start of in our last youtube upload and blog post i talked about various leaky areas that i was dealing with and to this the windows were on top of the list while awaiting the fix on the fuel tank . So a sunny sunday morning and we hitched up the work boat and headed down to get on with what we could hoping to get at lease 2 windows in the saloon sealed up. 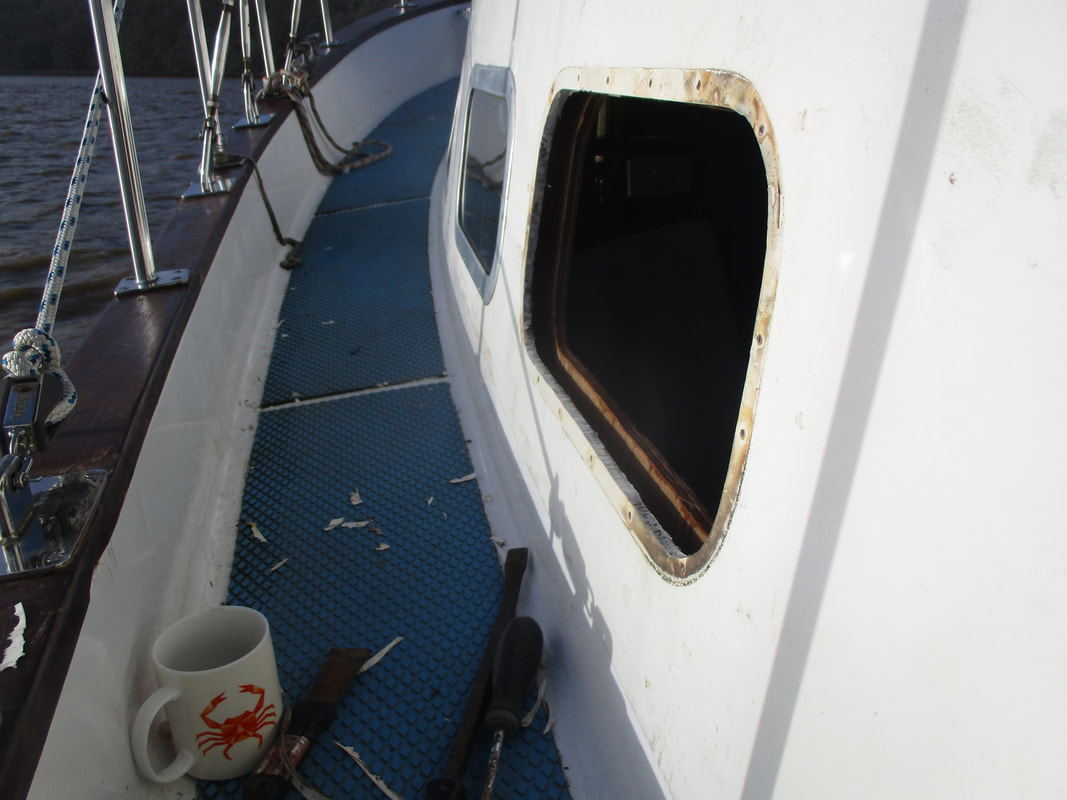 As this was a 2 person job the kids cleaned some decks and me and Anna got to work removing the 20 odd nuts and bolts that held the frame in . Then it was time to prize the whole unit out which put up a good fight due t being put in with a good quality sealant but after some effort it was out . 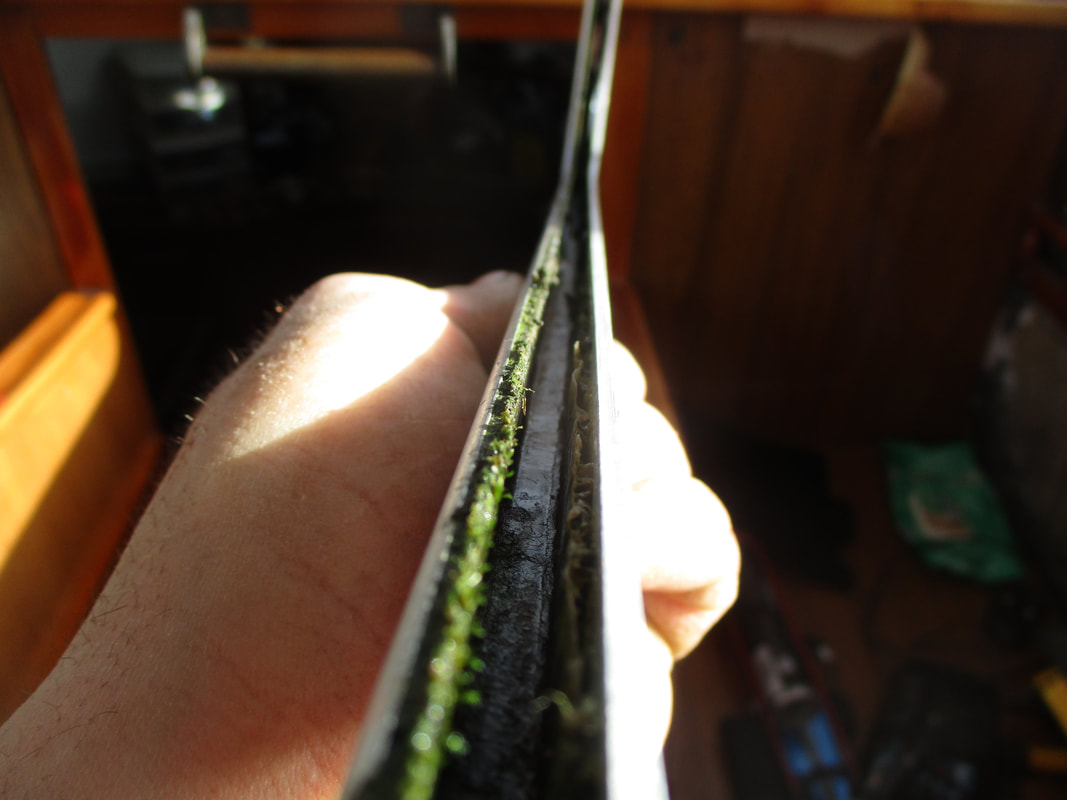 This is where the failure was , The internal seal / sealant had gone brittle and this is where the water was able to get past the seal in the frame and ingress in to the internal trim and leak down. The pic above is the state of the internal section of frame and although didn't look bad when in situ once separated from the glass it was apparent what was happening. The hardest part of the job was cleaning this out drying and resealing this . As this was the hardest part i opted for replacing this with sikaflex 221 white as a long term seal and a more basic sealant between the frame and cabin side to make it easier for future maintenance or removal . 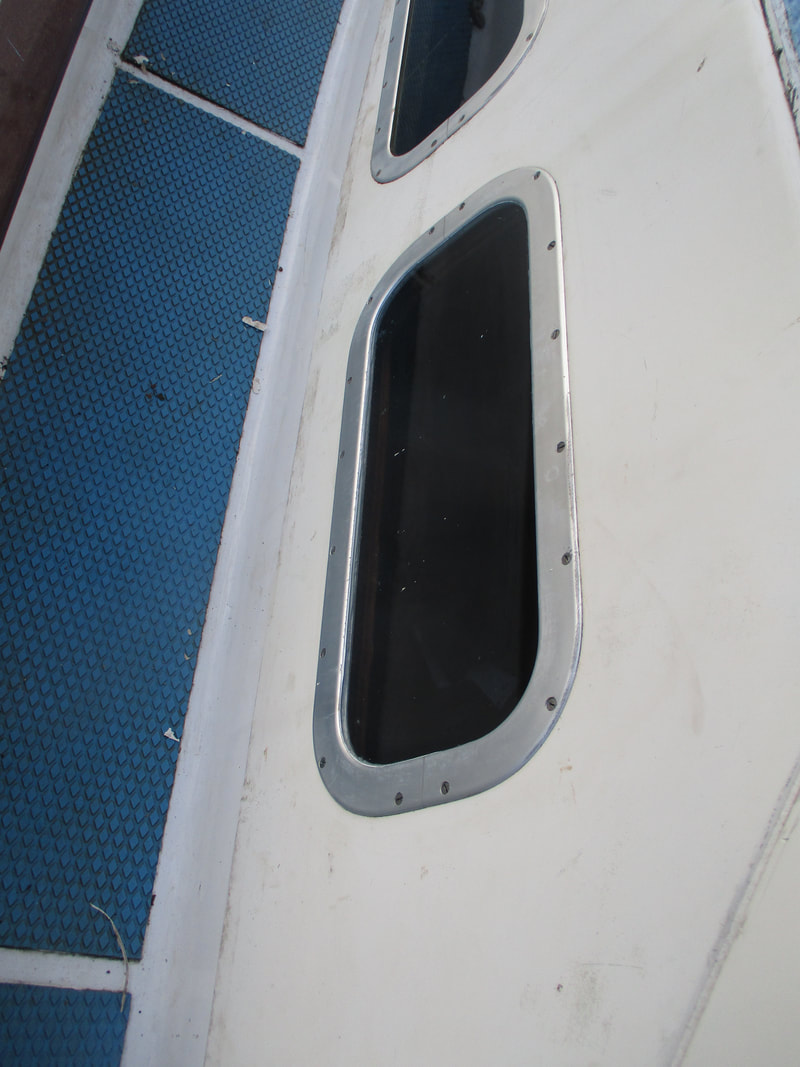 So one down and only 24 to go , Yes 24 more windows & Portholes to be sealed up as we work our way forward with the renovations meaning another 60hrs of work sealing windows as this one alone was almost 3 hrs to complete. It is great to have so much natural light coming in to the boat and for one reason why we really fell in love with Roysjoy , although luxuries like this come at a price , one being as we have found many more places for water to leak in and two the time it will take to finish this side of the renovation but we wouldnt want it any other way . simple but time consuming and again even harder to complete due to the varied weather we have lately the cost of this simple fix is still a good chunk each tube of marine sealant is 12 pounds and the frame seal another 8 pounds totaling just sealing the full 25 windows up near 200 pounds mark by the time we complete . Just before we headed home the kids wanted to go to shore and wander about on the beach but while there Adam decided it would be great fun to mess about in the mud and returned as a mud monster - Literally Thankfully we had the work boat and not the little tender meaning he could go one end and we could keep out of reach of his muddyness until back at the slipway 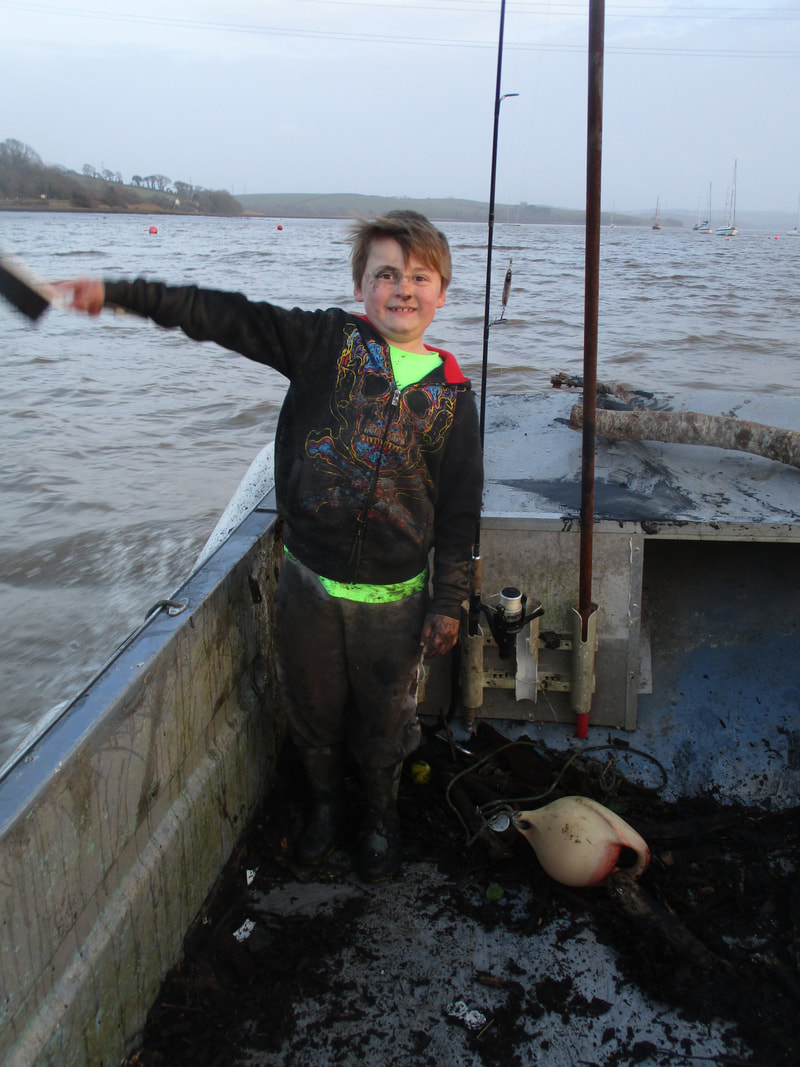 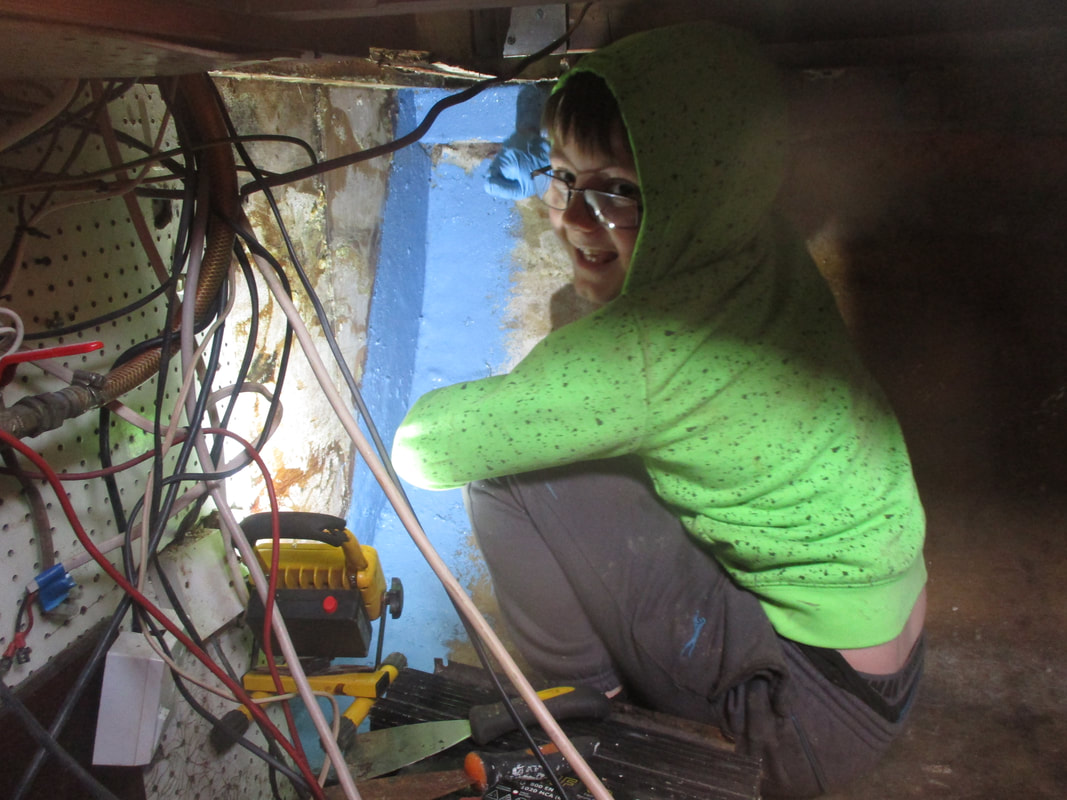 So its been slow progress this month we have the tank off for welding and refurb but on board there isn't much i can get on with due to the awful weather of late . since just before christmas all we seam to have had is rain rain and yet more rain , that is until i go to work and the sun comes out - sods law that. Although we haven't got with much there is still the odd job to do and each week we need to get to the boat to check all is ok and to charge the batteries up, the mooring is good and there isn't any water ingress. this is often on a friday evening and just this takes a good 2 - 3 hrs to do although this week me and the lads went out and managed to get one job complete which was to paint the area behind where the fuel tank is located in preparation for refitting . 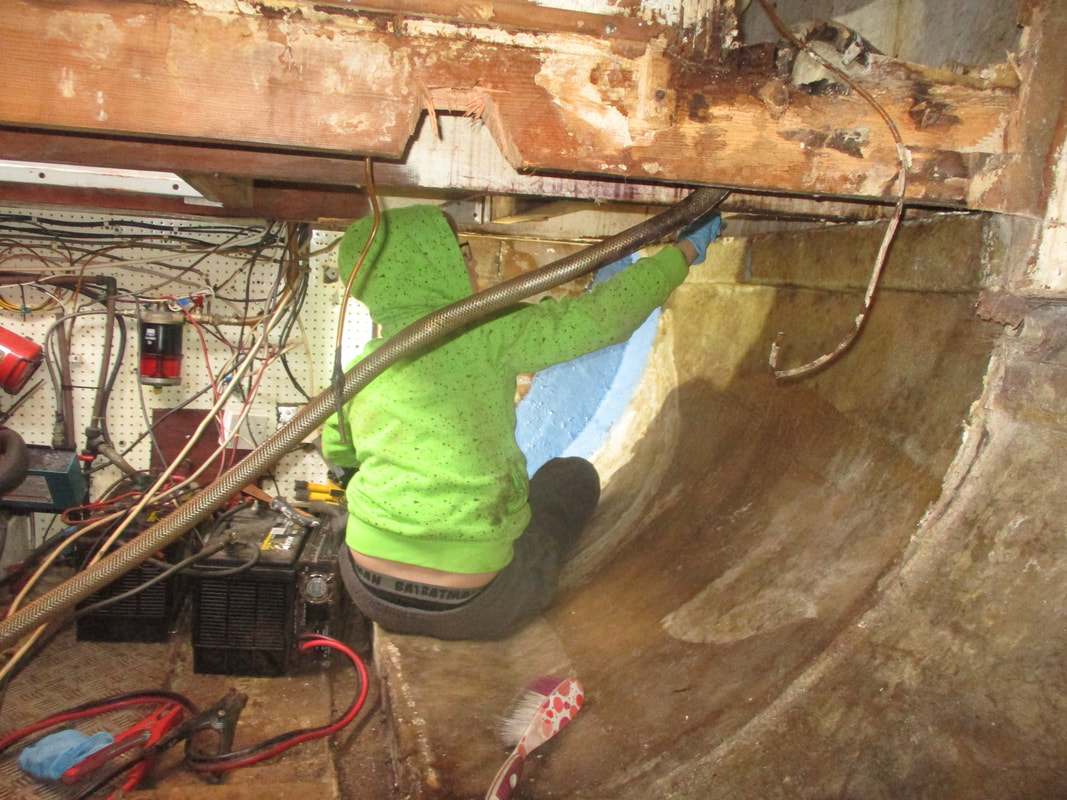 We again only had a small weather window to get on with anything outside but as we all know everything takes 3 times longer than expected. Not being able to complete any of the jobs on the list would mean having a large hole for water to get in through - not ideal. So while Jake got on with the painting part of today [ he is smaller and fits in the engine bay better] i got on with organising the aft cabin sorting spares and tools and planning other jobs that need to be done soon. In the mean time Adam kept himself busy with drawing and coloring in and making drinks for us all 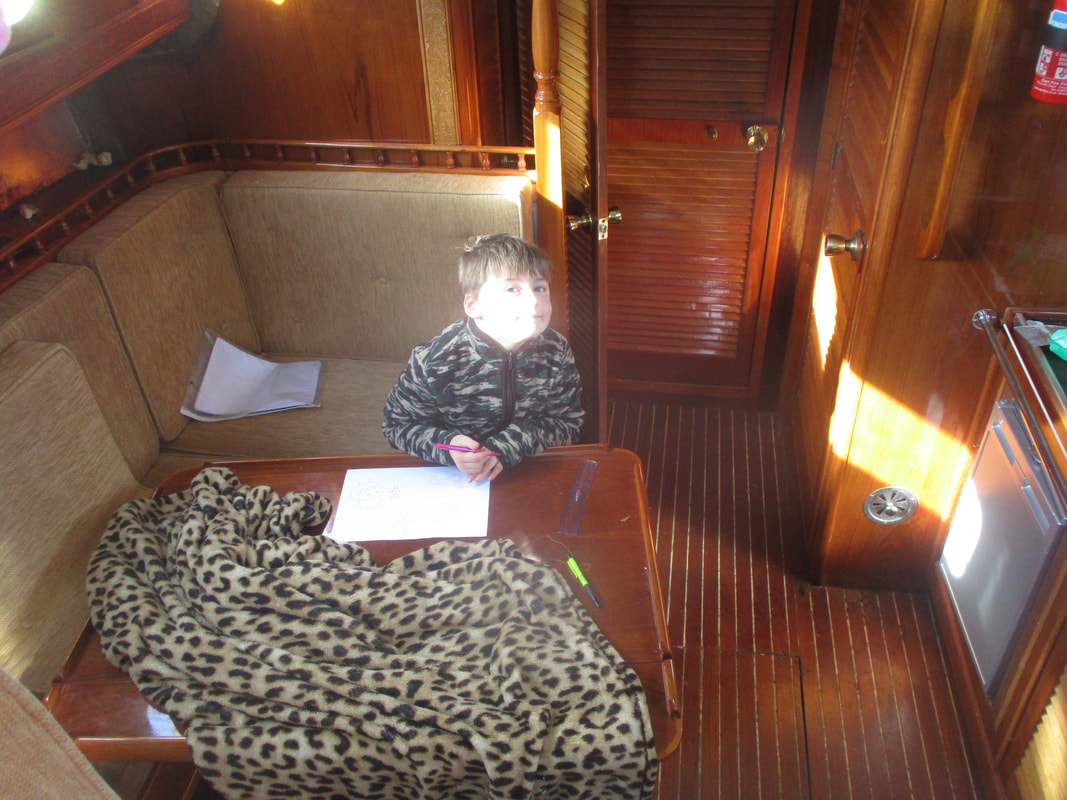 So we managed to get the weekly checks done - paint the space for the fuel tank and tidy up a little .
Hopefully spring is round the corner and dryness will follow soon if not i will have to look in to getting a cover over her to really crack on with the jobs on board . 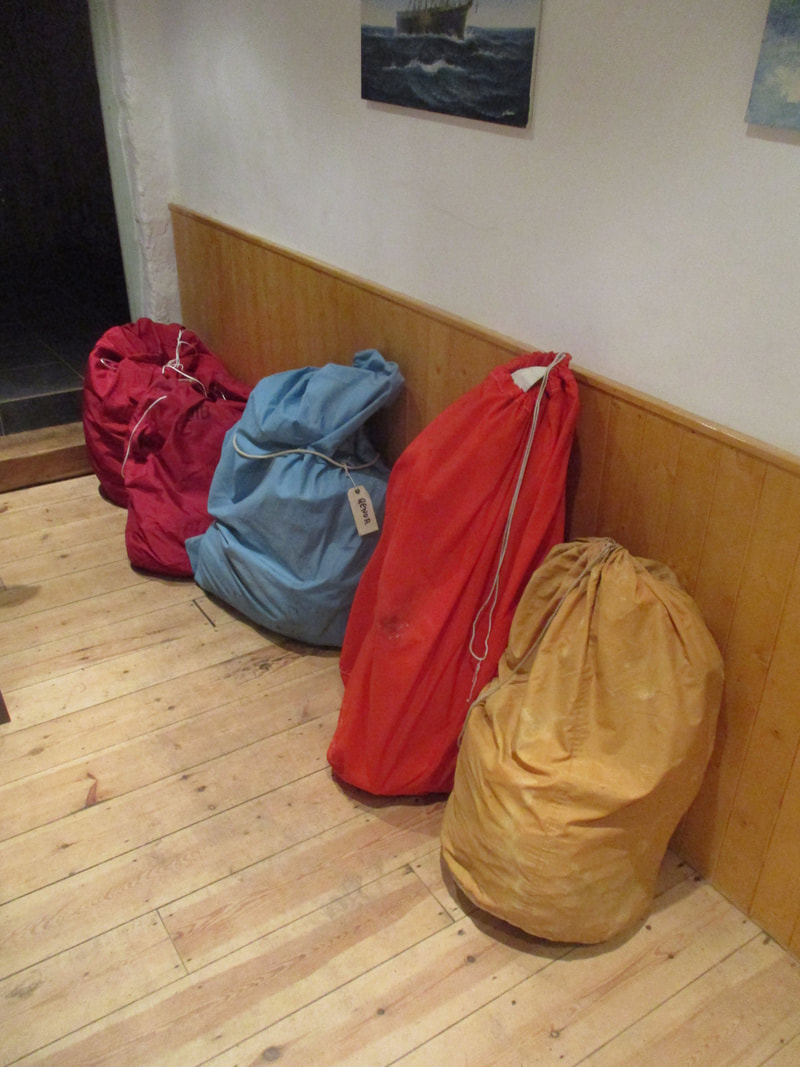 On purchasing Roysjoy she had the 3 sails on board and nothing else , 1 x 10oz genoa 1x main and 1x mizzen . while having a single set of good condition sails is fine on a motorsailer there is always room for improvement within the sails locker . On our few short sails so far with her we have had low wind conditions and while the main and mizen were ok the Genoa was a waste of time being made of heavy 10oz material so ever since we have been looking to add some lighter material sails for low wind conditions . Its taken over 6mth to find any the correct size that were local and that were not over priced [ or out of our minimal budget] But finally a local guy in Plymouth came up trumps having replaced his yachts sails he was selling a bundle of jibs and genoas so a trip to have a look was in order . So one wet sunday morning in feb me and the lads set of to take a peek with fingers crossed that they would be usable and the correct dimensions for Roysjoy . On arrival we thought we were coming to get 1 or 2 but after laying out each sail everyone had its merits and a price for the lot was agreed then they were all stuffed in the back of the family runaround . So after laying them out in the drizzle it was time to dry them all out and pack them away in wait for a day of calm to see which ones would work best. In the uk in winter its not easy to launder sails at home unless you have a large workshop or unit to borrow which we don't have so we opted to hang them up in the only place we had , at home in the warm and dry of the cottage . Luckily we have a long passageway between 3 rooms with 2 woodburners in making ideal sail drying conditions . So 1 sail each 24 hrs was hung up between the kitchen , dining room and lounge . This way by the time i got home from work each evening the sail hanging was dry and ready to re pack then up with the next and so on over 6 days until all were dry inspected measured and packed . 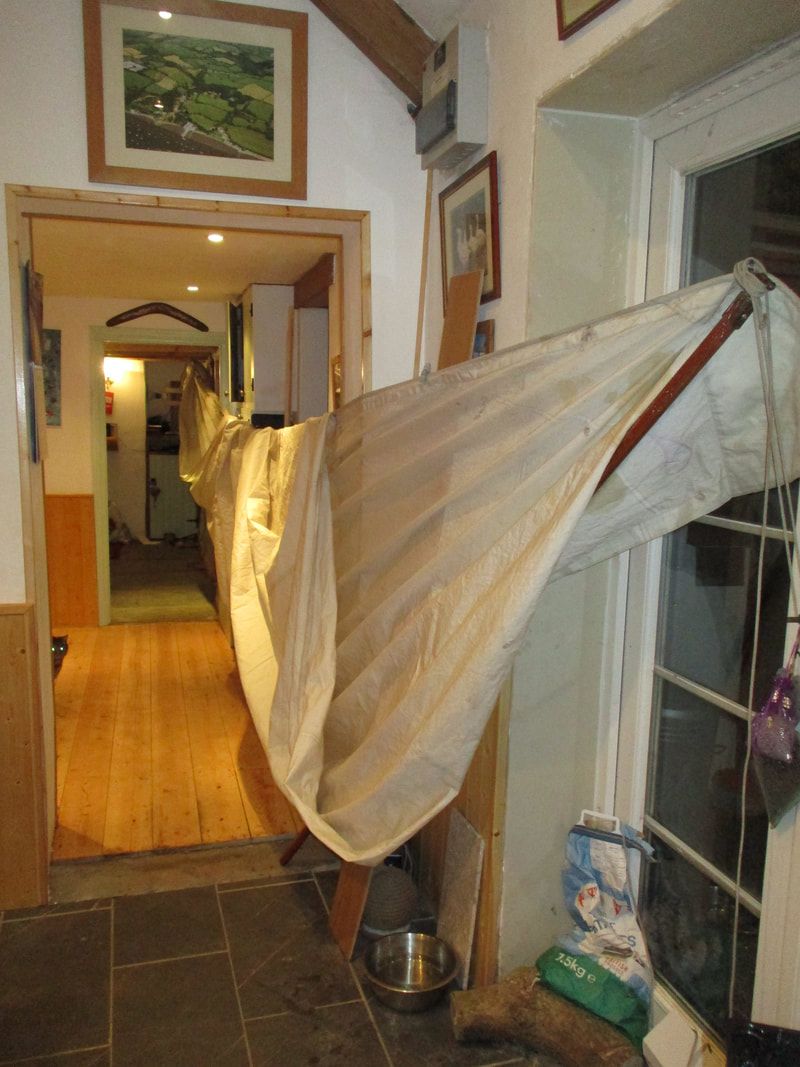 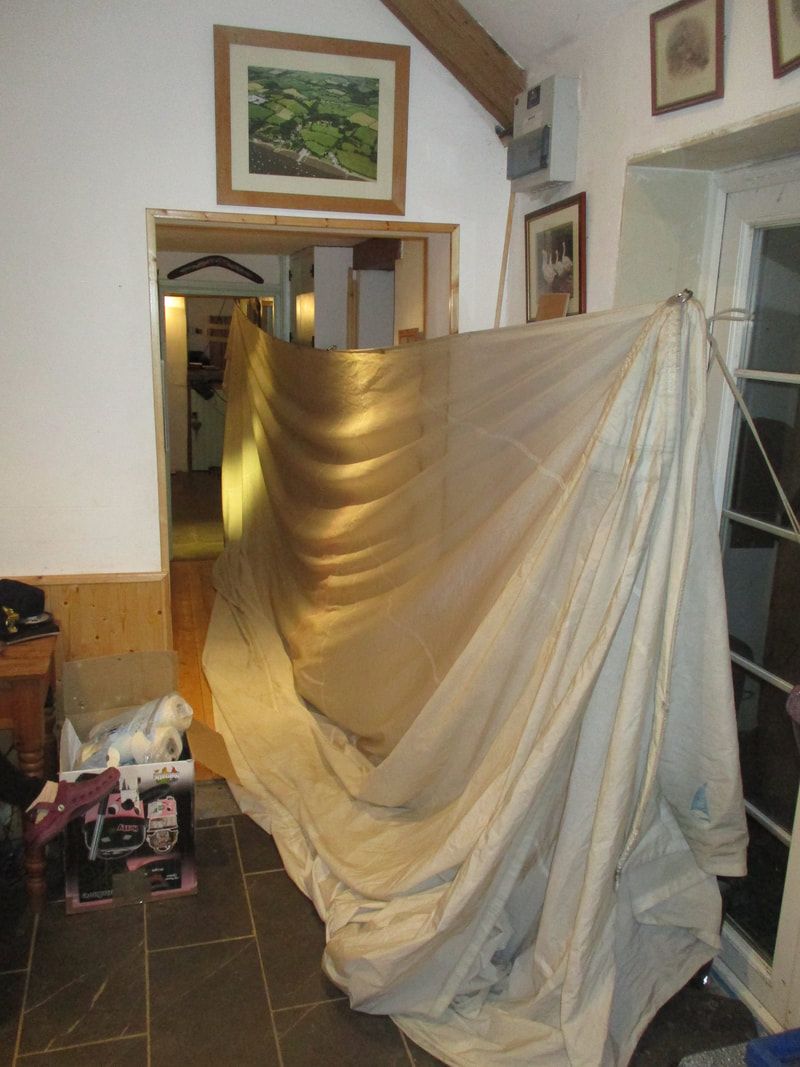 So the next dry still day we will be faffing about with sails on board to find the best of the bunch for the adjustments to our sail plan . We are hoping to add to the sail locker 1xno 1 jib 1x no2 jib and a light weight Genoa .
We do need to add a new fixed forestay along side the roller furler and also wish to add a inner stay to make her cutter rigged and even looking to make one in to a stay sail off the mizzen to optimize the amount of sailing possible on a heavy displacement motor sailer .  Another night out on the river and another list of jobs to do that was until i noticed how wet part of our saloon lining was getting . We knew there was a minor leak or damp build up in this area but it had never been this bad , although with the sheer volume of rain and the boat having a list probably made it worse. So on finding the lining was sopping wet the first thing to do was rip this off and start to remove the timber trims and window trims although there was no major evidence of water ingress from many of these areas there was some from the aft window surround but that turned out to be minimal. After removing the foam backing of the lining i found that there were bolts from cleats and the inner stay of the mast almost all of these were leaking . 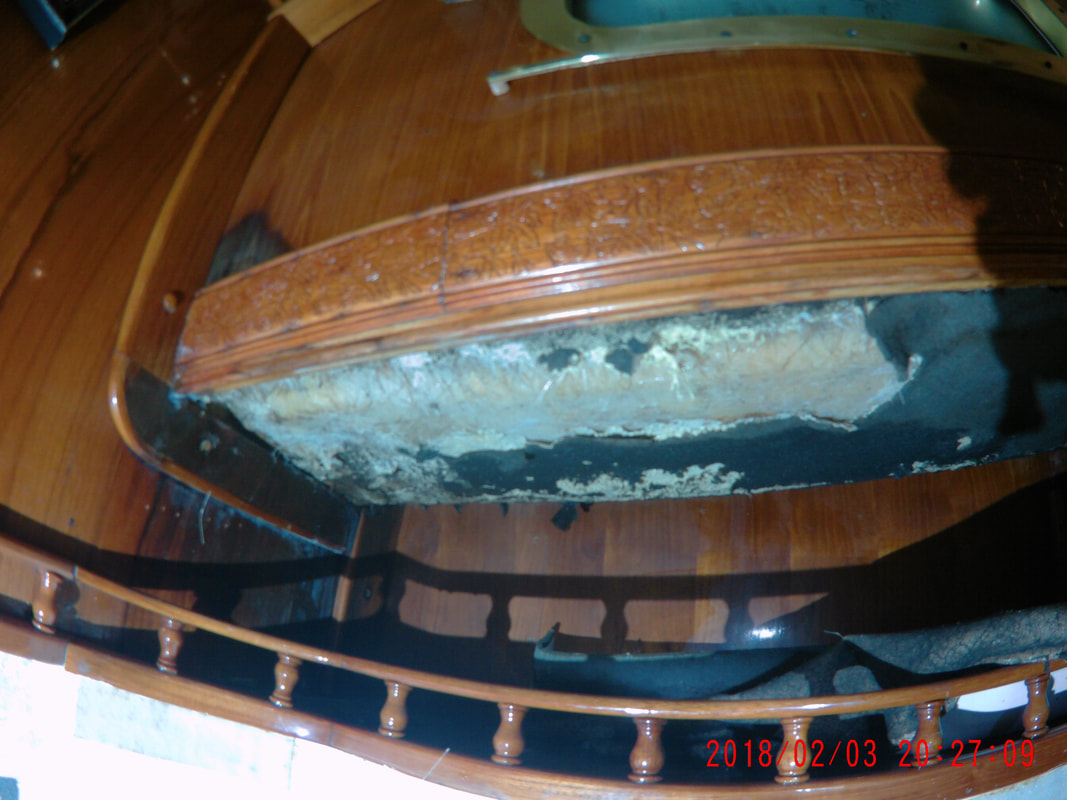 On finding the leaky spots it was decided to get these removed and resealed although the nuts were 20mm and i only had up to 19mm grrrr - so an hour trip home was called for until i returned to find that the threads were too long to remove the nuts on all but 1 this was abandoned until i can make up a longer socket . I did however manage to remove the leaky eyebolt and and get on with removing the start of mould growth in some of the lockers . Part 2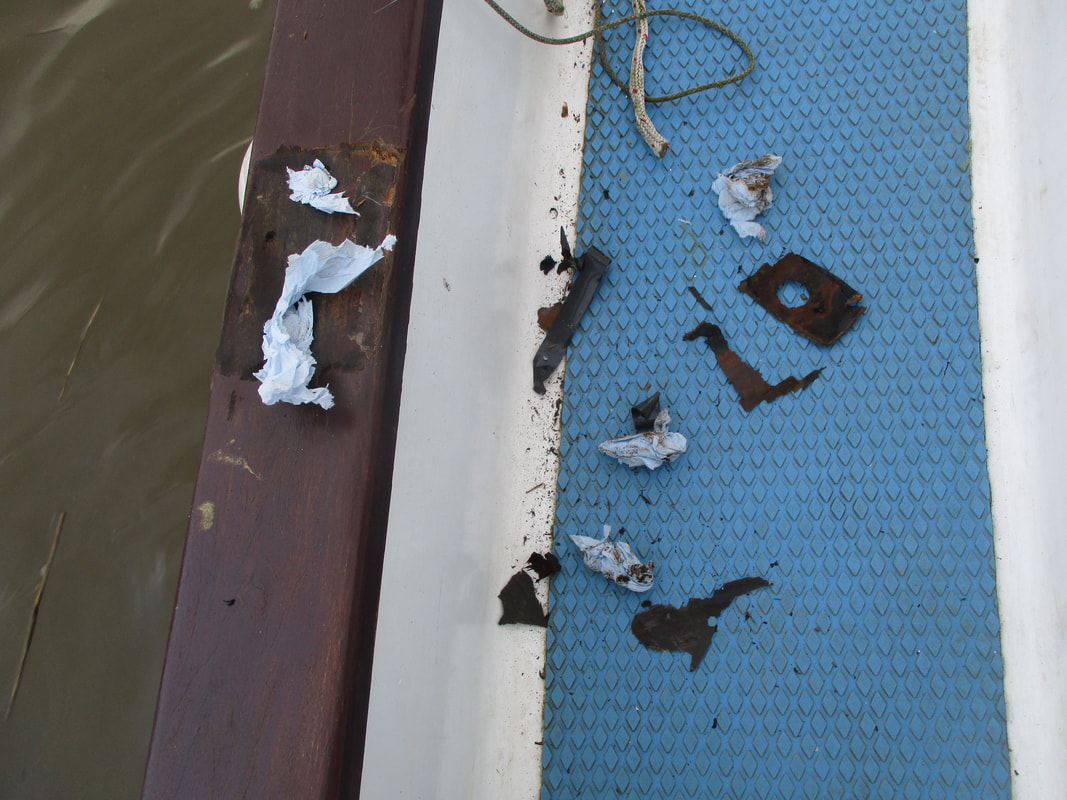 After making up the longer socket it was easy to now remove the 2 fittings for resealing . Both were found to have aged now brittle sealant in minimal quantities under them and clearly why there was water ingress . After removal came the cleanup and drying out of the surface underneath and inspection of the metalwork ready for installing and resealing . 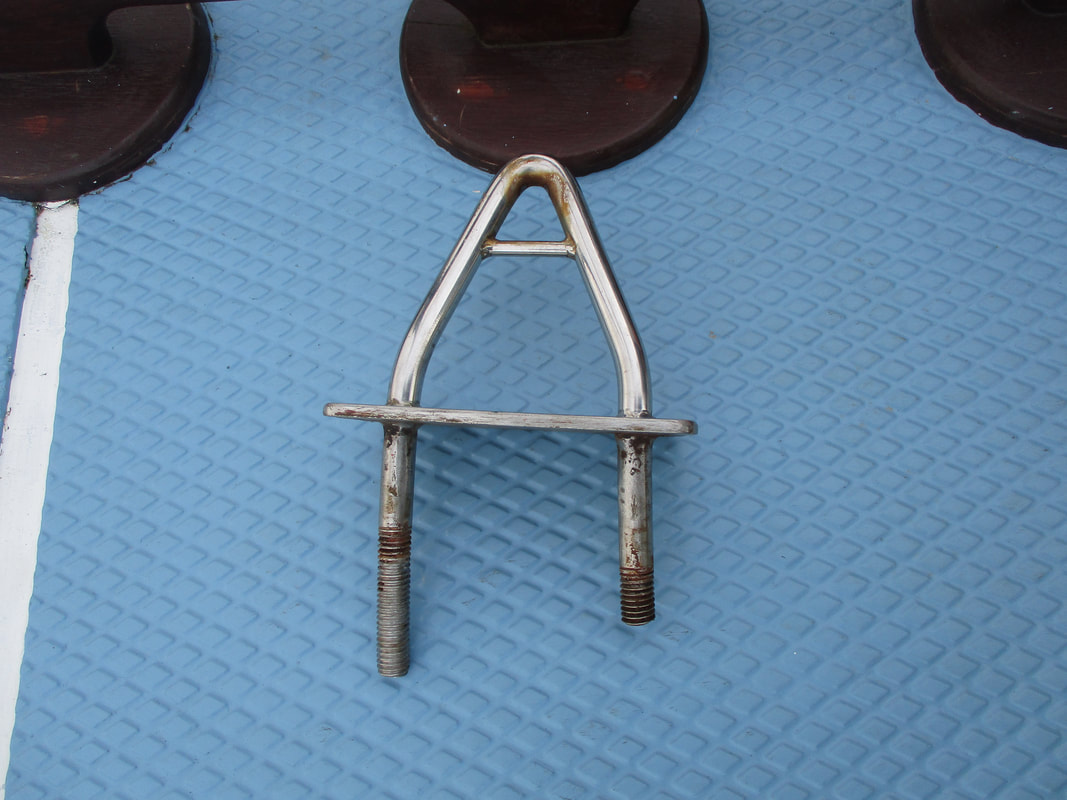 I also cut down the longer thread to ease future maintenance which also removed a small section of damaged thread where it had been crossed threaded in the past . Resealing i used Sikaflex 221 in brown which should last much longer than many other sealants out there and is much less noticeable against the timber toe rail . 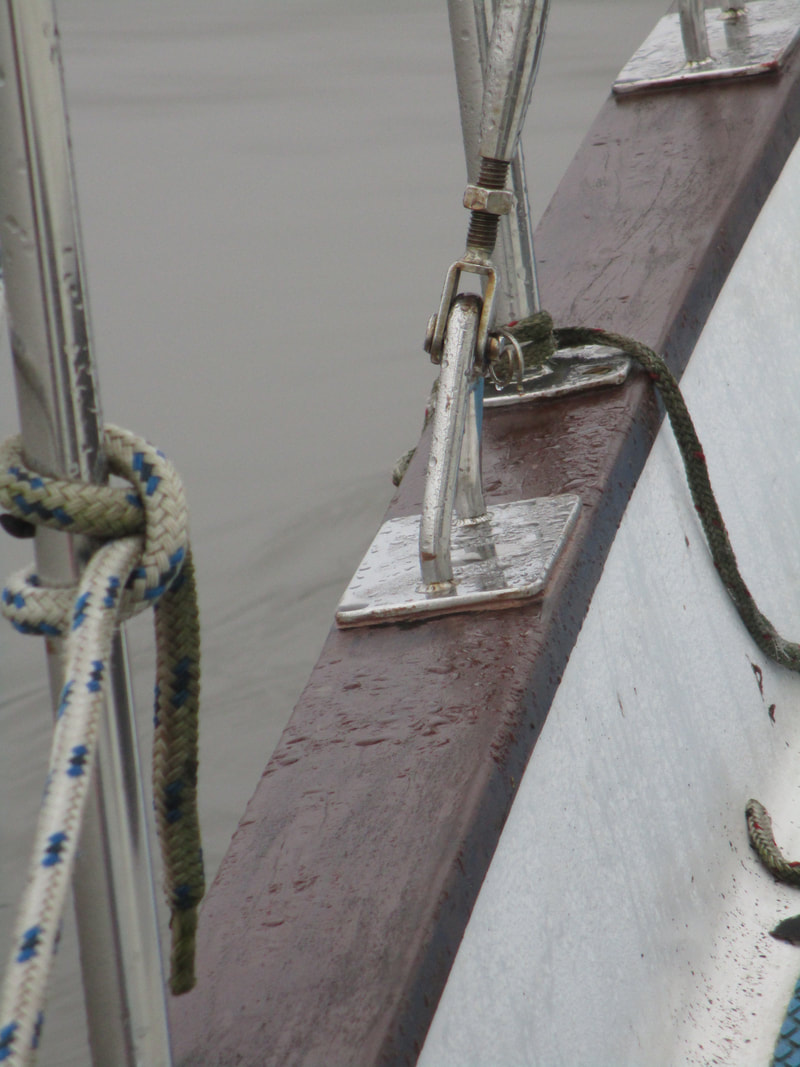 The second fitting was much easier having only one through bolt and 4 surface screws , the exact same process was used but 1/2 the time of the first 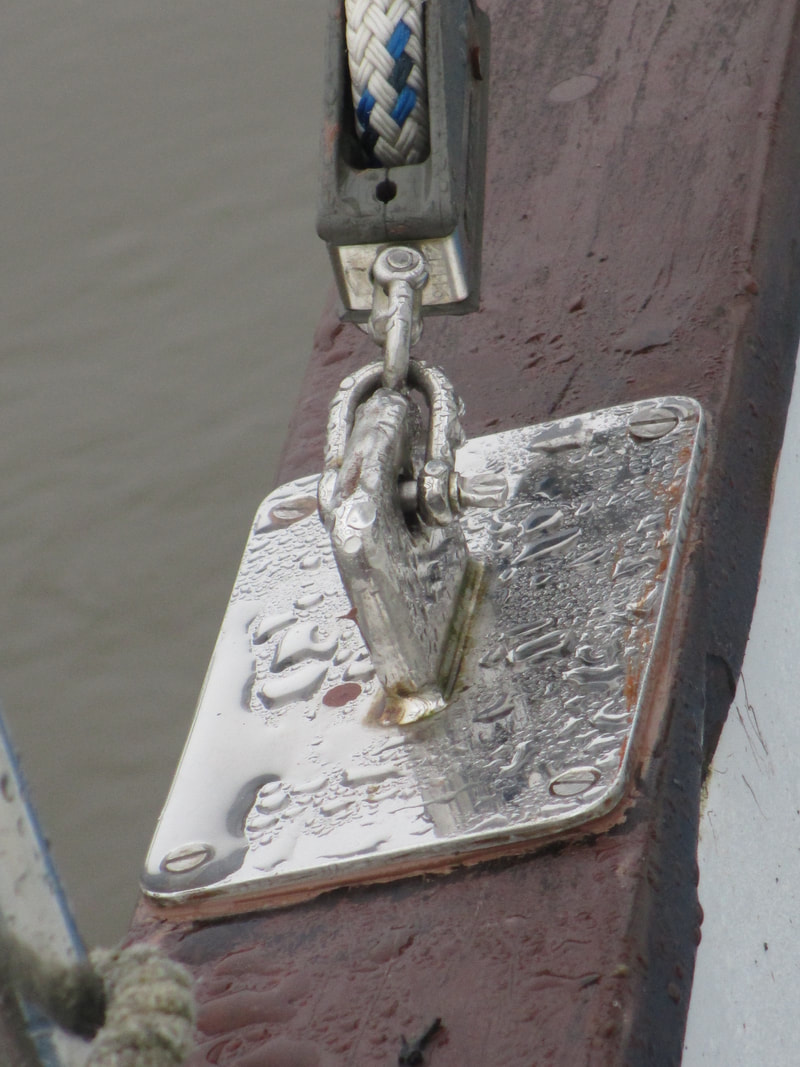 This has been a simple little job so far to seal up and cost nothing to do but the job overall is a much bigger task. Now that the leak has been resolved i now have the cleanup of the entire port side saloon area drying out the lockers directly below this area re- attaching the head lining and refitting all the trims and panels something that is going to take a good few evenings to complete all down to 2 simple fittings and 3 little bolt holes - Nothing is never straight forward of a boat but that's why we love it .
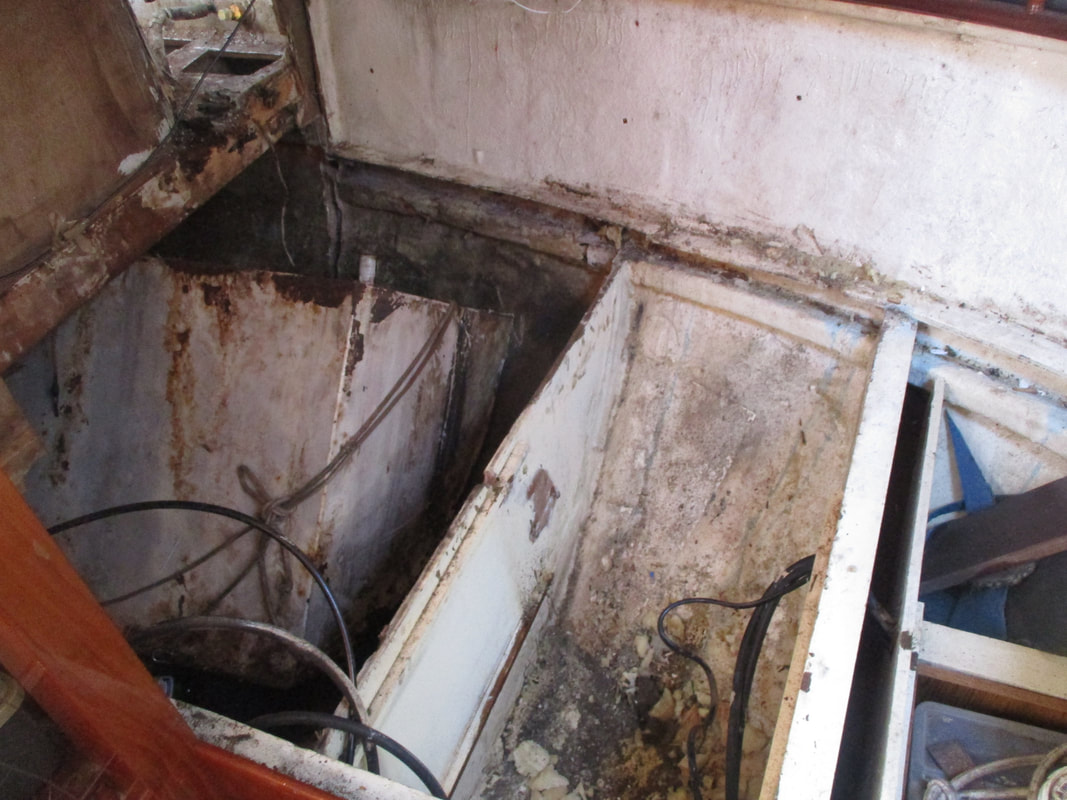
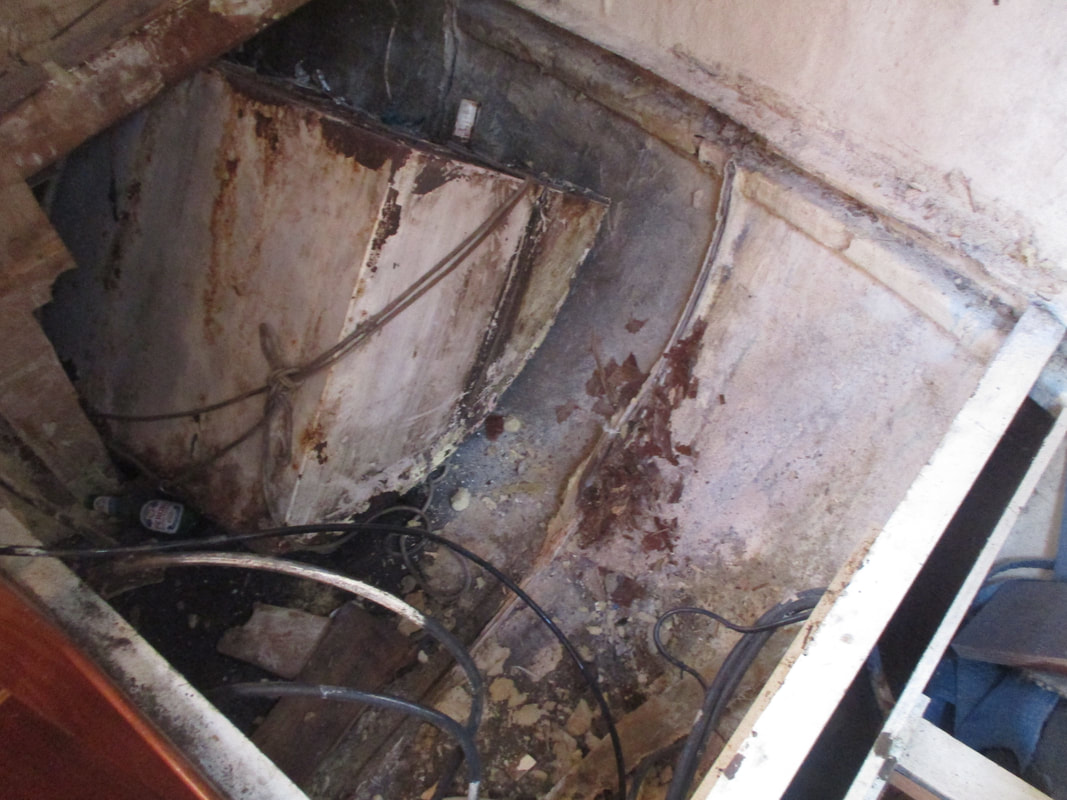
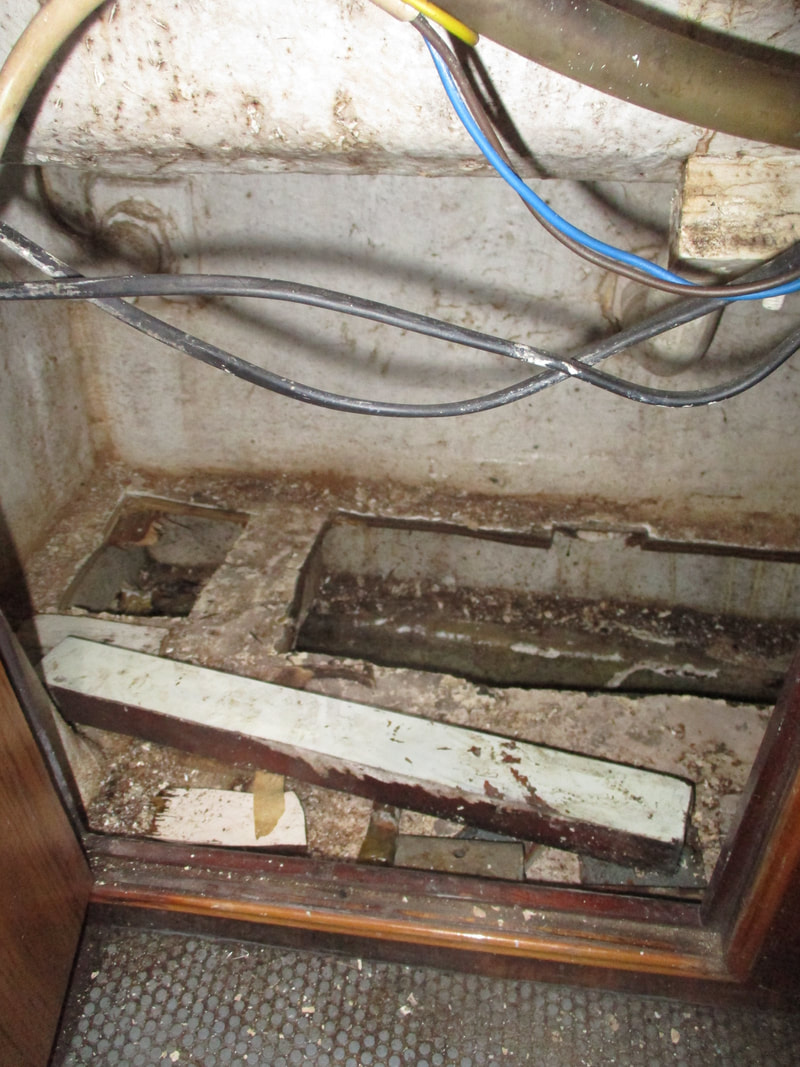
 Another overnighter on board Roysjoy cracking on with winter DIY , This time it was clean up time and sealing leaks . First on the list was to replace the deck fillers that i had taken home to recondition and also make up new packers for . Due to the weather i was unable to get these back on but i did manage to seal u a deck drain, This was found to be made out of a sink drain cut up bodge style and simply glued together with sealant hence the reason for leaks . So i refitted with new sealant until i can find 4 new replacement fittings . Next was sealing the port wheelhouse door this area has some rot in it and untill the weather improves i am unable to replace this but i did find a way of sealing it to prevent 99% of the water ingress so happy with that for the time . 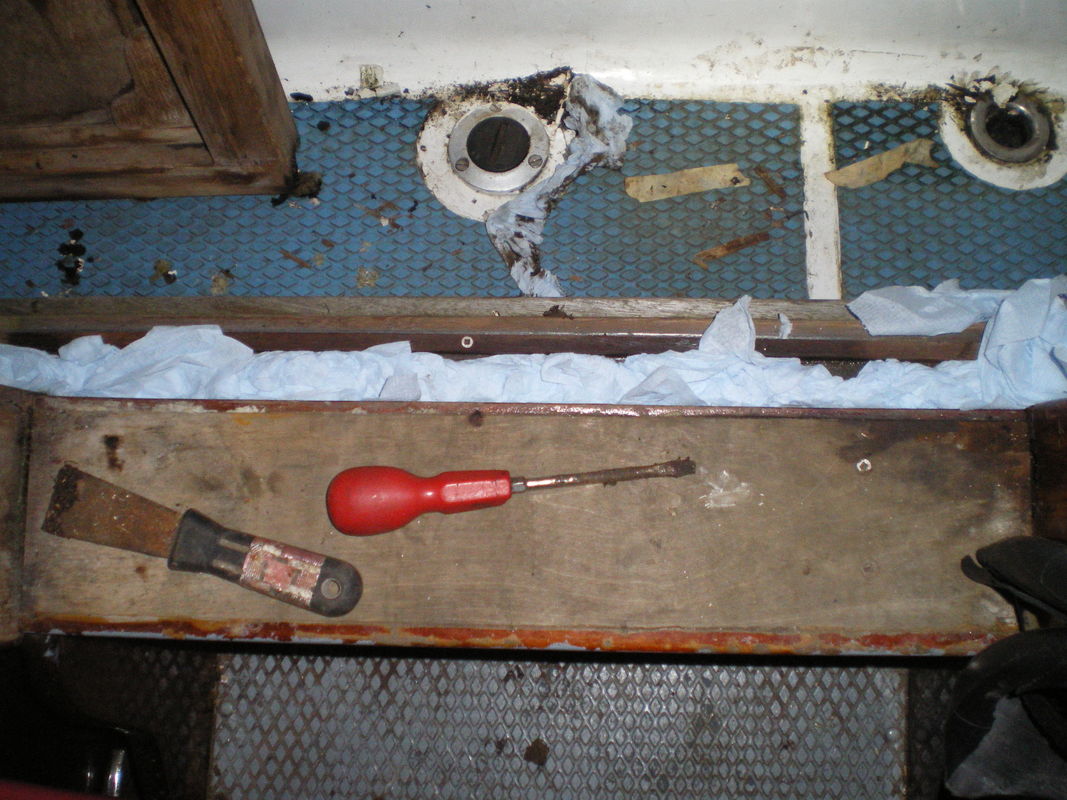 On from here I gave the aft cabin a spring clean and tidied up all the spares and tools ready to start refitting the fuel tank and replacing bulkheads in the near future . I also found another dinghies full of foam and rubbish which was swiftly removed giving up more room to work with in what i currently call the workshop [master cabin]. Again we looked in to other soon to do jobs like the 2 mast suppression posts / pads both of which prevent us from sailing in anything other than a gentle wind and need to be fixed by the start of summer for us to be able to use the boat properly through the next sailing season . another area i have found to be in been of replacement was the under locker floor where the water tank was sat , this is needing replacement as it has rotted away - another ob on the to do list . Sorry for the lack of photos for this update for some reason my crappy cam didn't record many of this weeks work although luckily it did record video for the youtube upload which can be found below 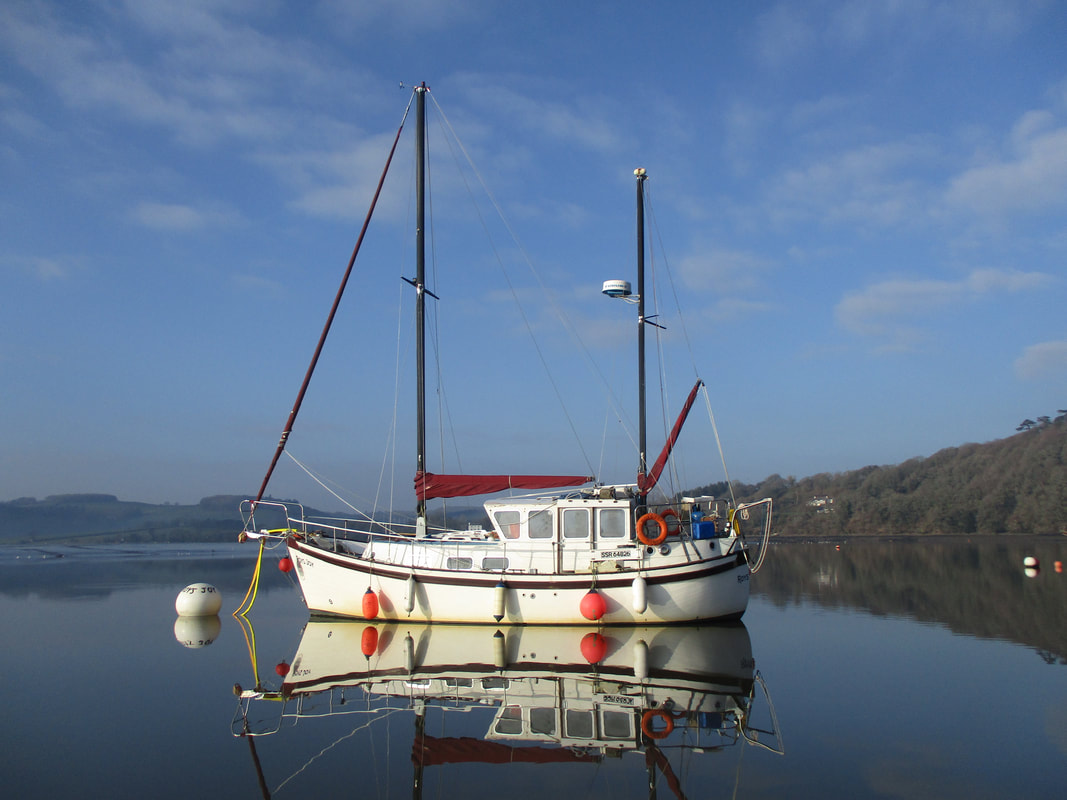 What a change it makes to be carrying out work in daylight and at a reasonable hour of the day . This time i had the help of Jake again for a 4 hour sunday morning work party to hopefully get the fuel tank right out in to the aft cabin hopefully out of the boat all together . First job of the day was to remove the hyd steering pump and the bulkhead it was attached to to make room enough to extract the fuel tank from its hole in the engine room . This as fairly straight forward and 30min later and a little hacking at the tabbing with a angle grinder had this obstacle out of the way . Next came the hard part , Trying to wiggle the tank out through the side of the engine room in to the now opened up space in the aft cabin and then lift it free of the hull on to the bunk frame . There was only 1/4 inch of "wiggle" room to get it under the deck beam after i had to cut a 2inch section out to accommodate the lip of the tank but luckily the plan was a success and within 10 min of pushing and pulling we had the tank sat on the bunk frame ready for the next stage of extraction. 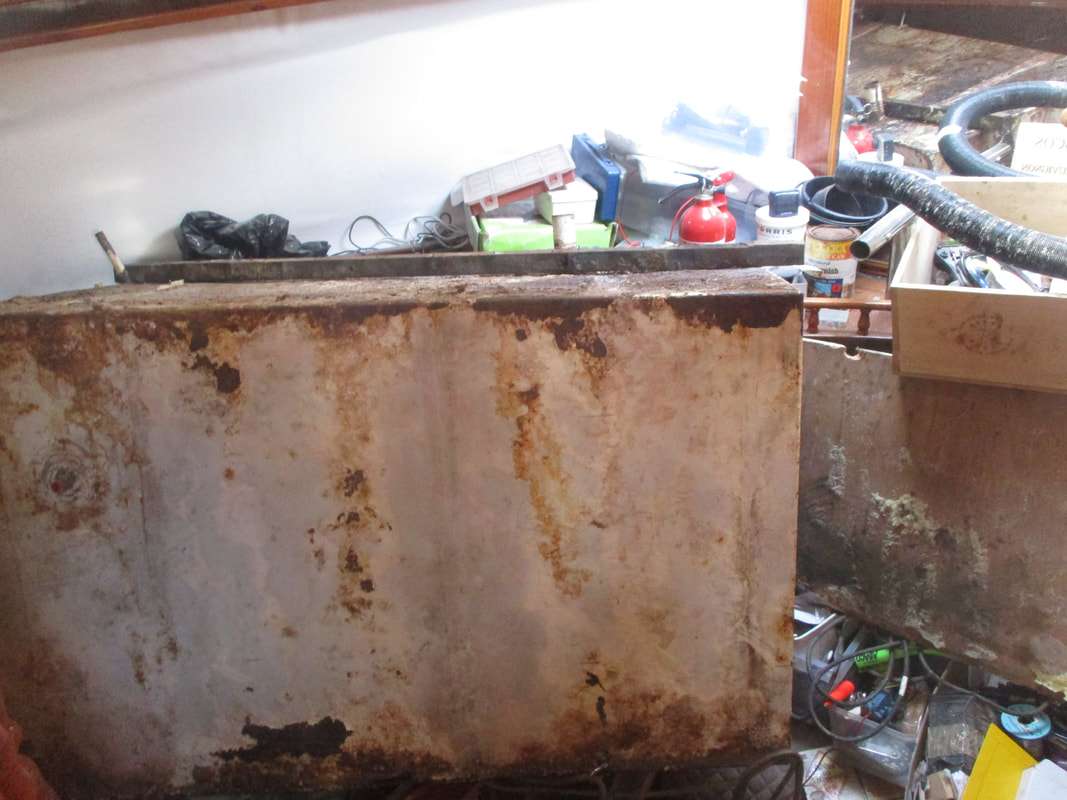 Some of you may remember me saying in an earlier post that the tank was one of the first parts of the boat to be fitted at her time of build , This was evident when we realised that the tank was too big to come out of the engine room hatch without removing the entire engine , It was 4 inch too bit to come up the companion way steps from the aft cabin and also 4.5inch too bit to come out o the wheelhouse door . After allot of working out measuring, rethinking and head scratching the plan was set to cut 5 inch of the tank off to enable us to remove the tank inspect the interior and clean out if found to be good . More effort and head scratching came in to play with working out which part to cut off .  Originally I wanted to cut the top of the tank off as this was the most corroded section although this would mean i had to cut over 8 inch off to make it small enough to get out of the boat this would of been ok but it would of removed almost 1/2 the tank capacity as the top area was the widest so the decision was made to cut the whole front panel off up to 4,5inch removing only about 1/10th of the capacity and also removing the bent drain pipe and now snapped vent pipe . As there was still some fuel residue in the tank i could not use the trusty angle grinder due to the big risk of fire so we went back to the same method we used with the water tank the jigsaw . Biggest problem was i only had the cheapo leftover pack of blades and we found that these are great to cut with but they were very brittle blades and used the whole pack cutting 3/4 of the first line so we left it there until i can get hold of better blades and got on with other jobs onboard . Deck fillers and solving leaks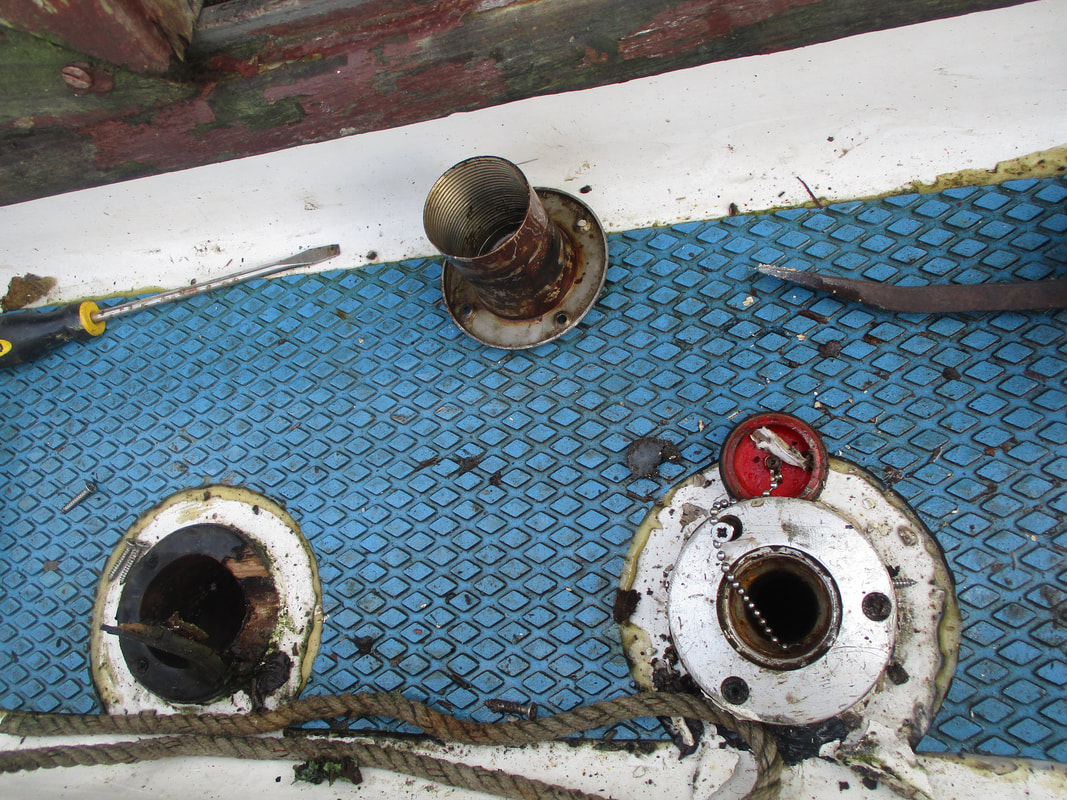 On both sides of the wheelhouse there is a section of under deck storage that is always wet . Through this area the deck drains run and the deck fillers are also located along with a few other fittings and it was these that were the cause of the wet . The net job of the day was to work on the starboard side fittings remove and re seal until it came to getting them out . We found that one was fitted over an older filler location and this was filled with filler although badly done this was an area where water was evidently getting under . The other filler was set in to a plywood riser that was badly sealed and not weatherproofed so was soaked and obviously the cause for more ingress . Both of these fittings needed a real good clean up so we blanked the holes with a cheap sealant and some pvc offcuts and the fittings were taken home to be overhauled . One last fitting was a big eye bolt that is for the safety line this was set on a hardwood pad but we found not sealed at all , this will be relocated and a new pad made up . 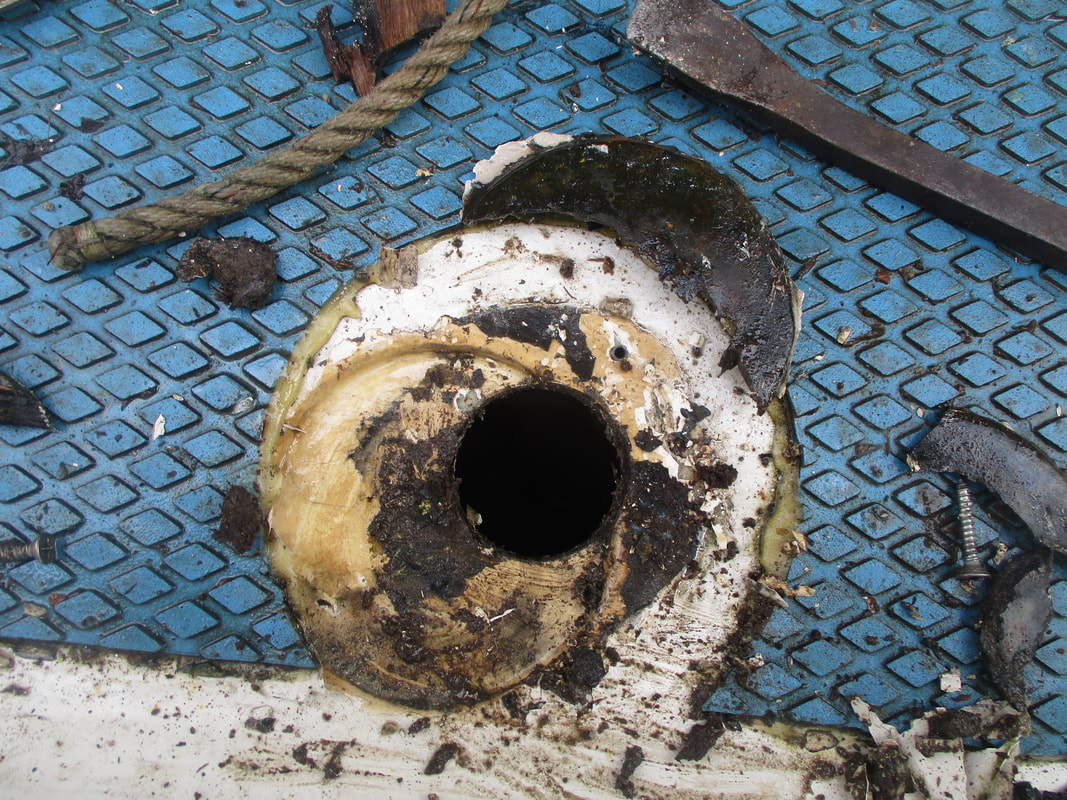 After the jobs were done for the day it was time to remove the last of the rubbish off the boat , Most was the paneling from the engine room , more insulation and the remains of the battery box i cut out on the last visit Hopefully next weekend we will finally have the tank out and ready to be revamped ?? 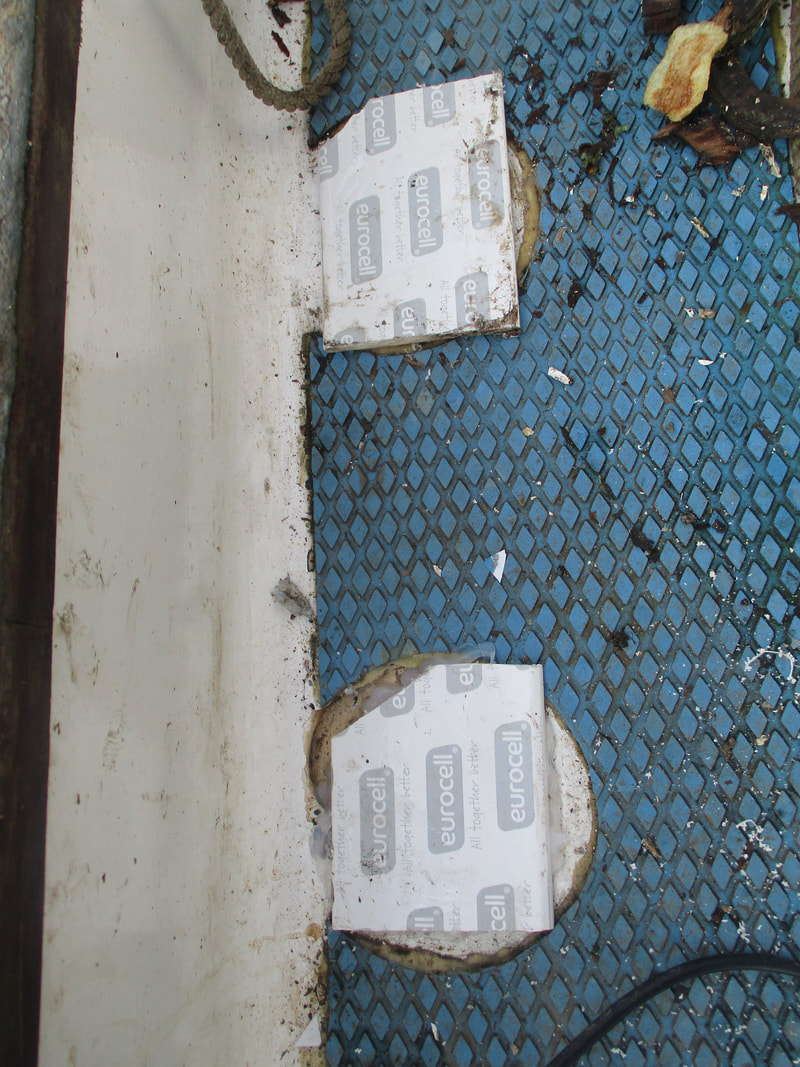  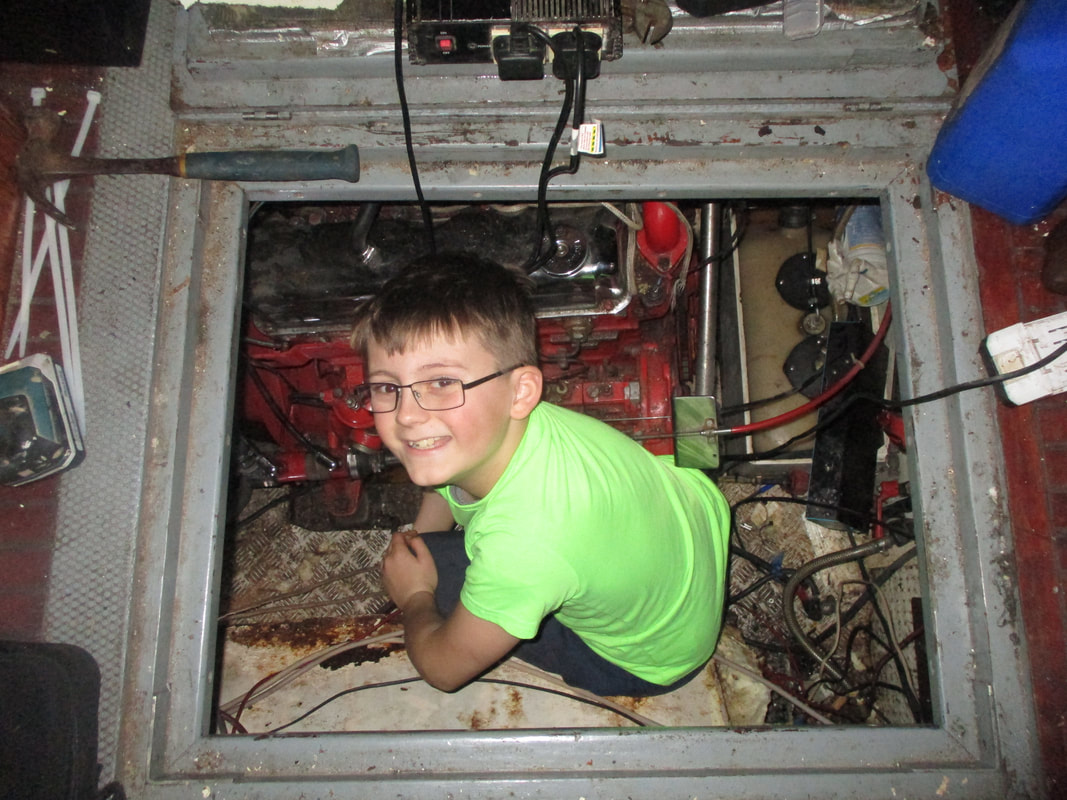 Following on from the water tank removal we should now be starting to replace that but found that the fuel tank that was net on the list can only come out through where the water tank was going to be .This has now been given priority as we cant do any more to the water system until the fuel tank is either revamped or replaced and refitted . so on we cracked with this job over December 2017 . First was to empty the 400ltr aprox of fuel , this took 4 evenings of ferrying jerry cant to the slip and taking home in to a holding tank ready for polishing later on . Next was to remove all the insulation and boarding , pipes, wires and everything else that was ran along side the fuel tank in the engine bay . We also found that the battery box no 2 had to be removed as it was glassed in the engine room deck and prevented access to the fuel tank fixings . 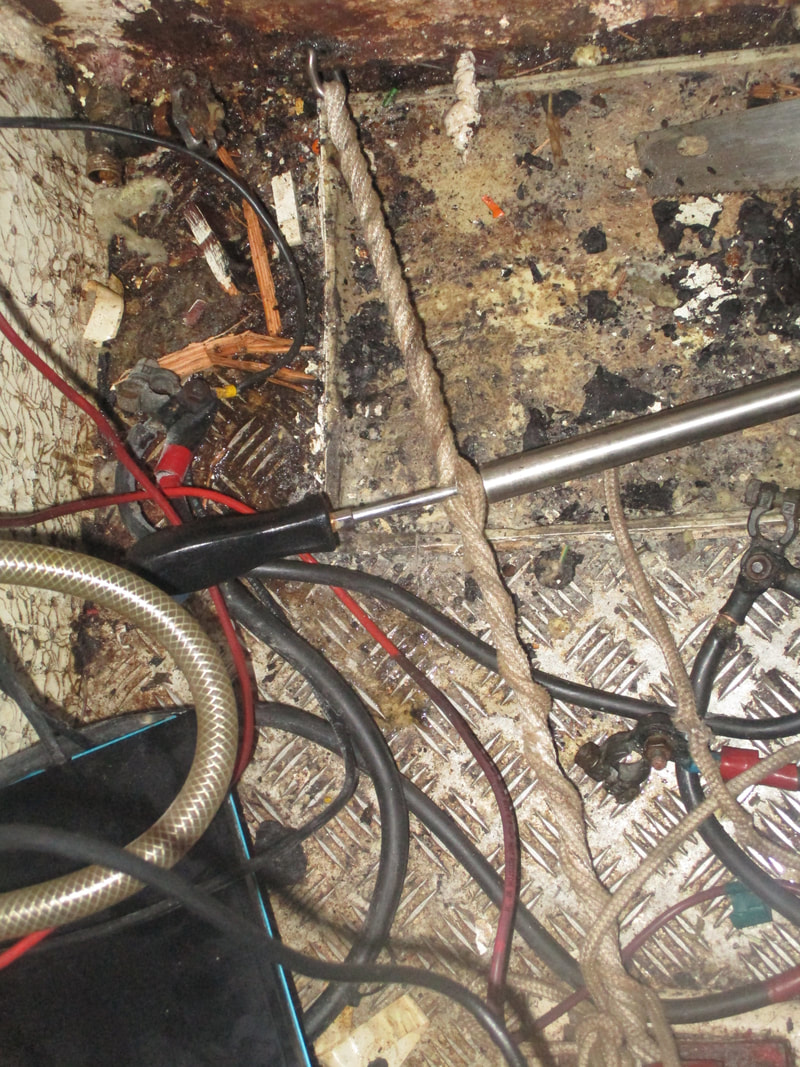 Due to the tank being one of the first things fitted when she was built it was a hell of a job to free it up . We had to cut out sections of the under deck bulkhead to get to the top fixings , cut groves in the deck beams and make a twist pull to free it off the hull sides thanks fo yet more foam being put behind it . After another 2 hrs of struggling to get the tank free from its hole we managed to get it part in the aft cabin and called it a night . Next step is removing the hyd steering and 2nd bulkhead so the tank can come right out in to the aft cabin .
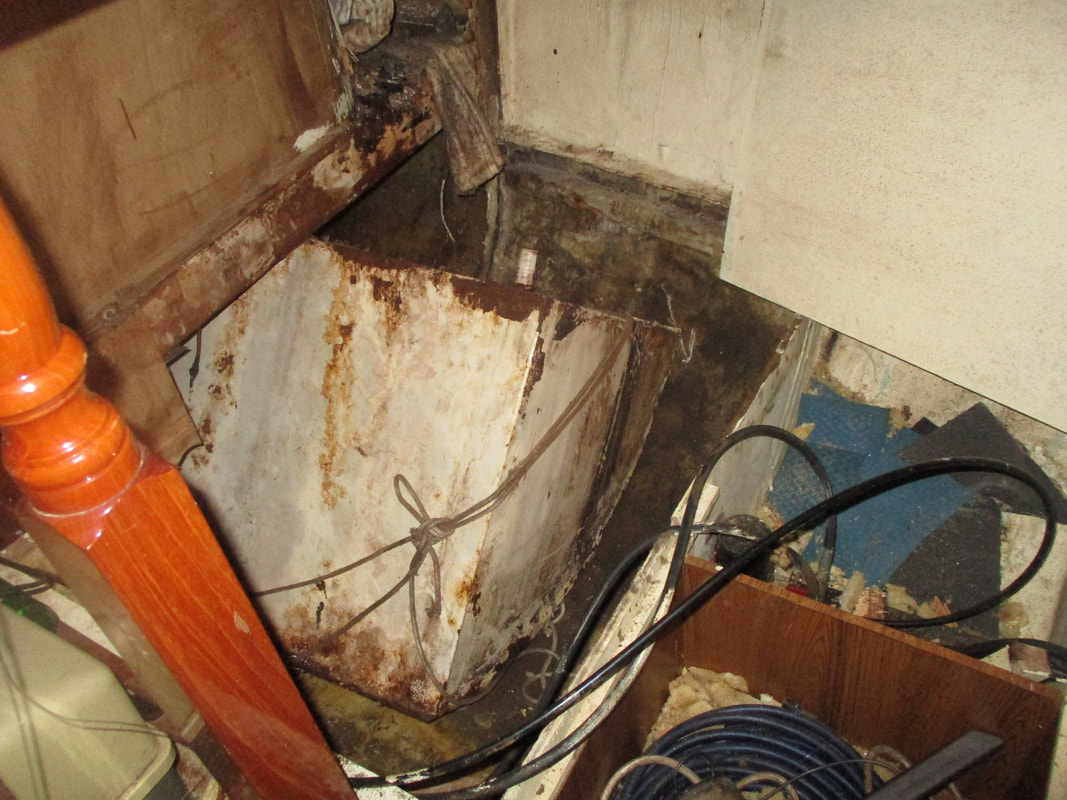
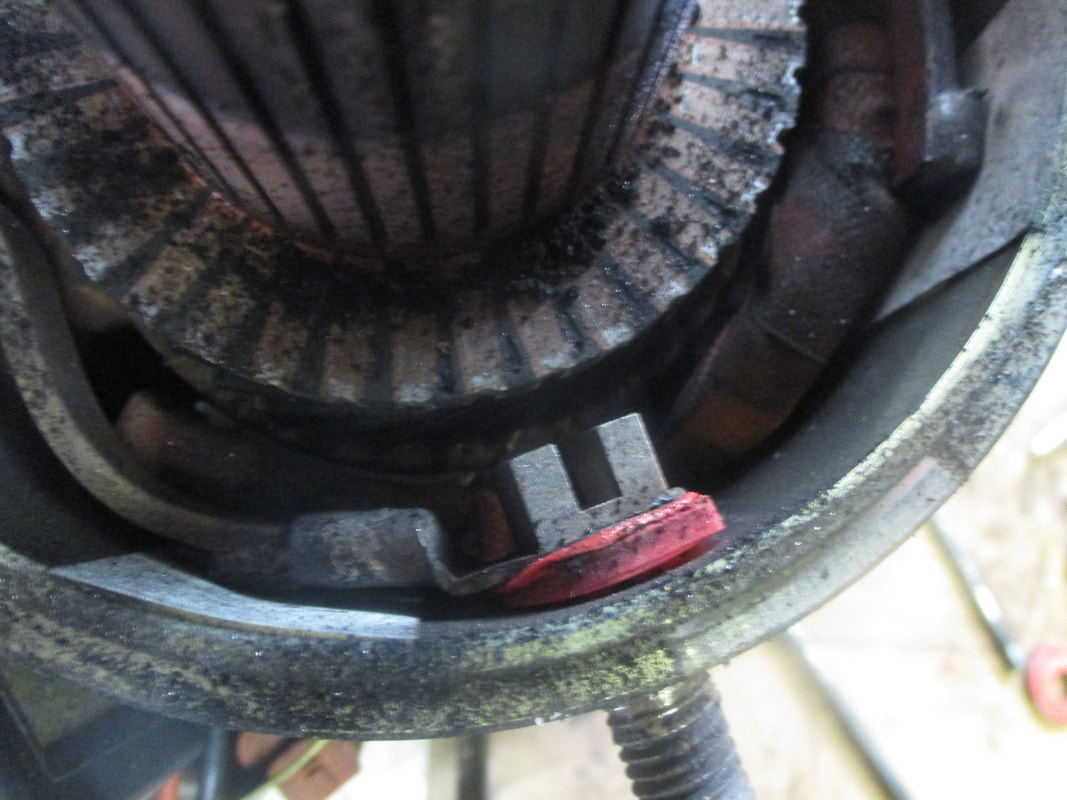
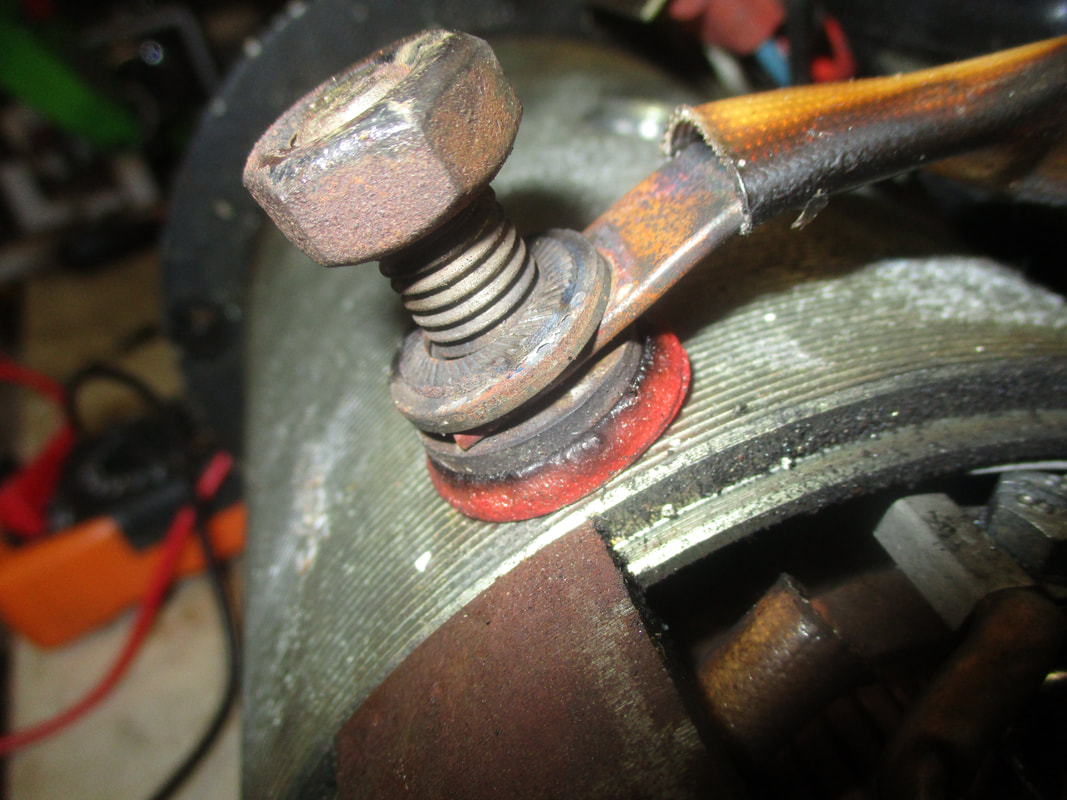
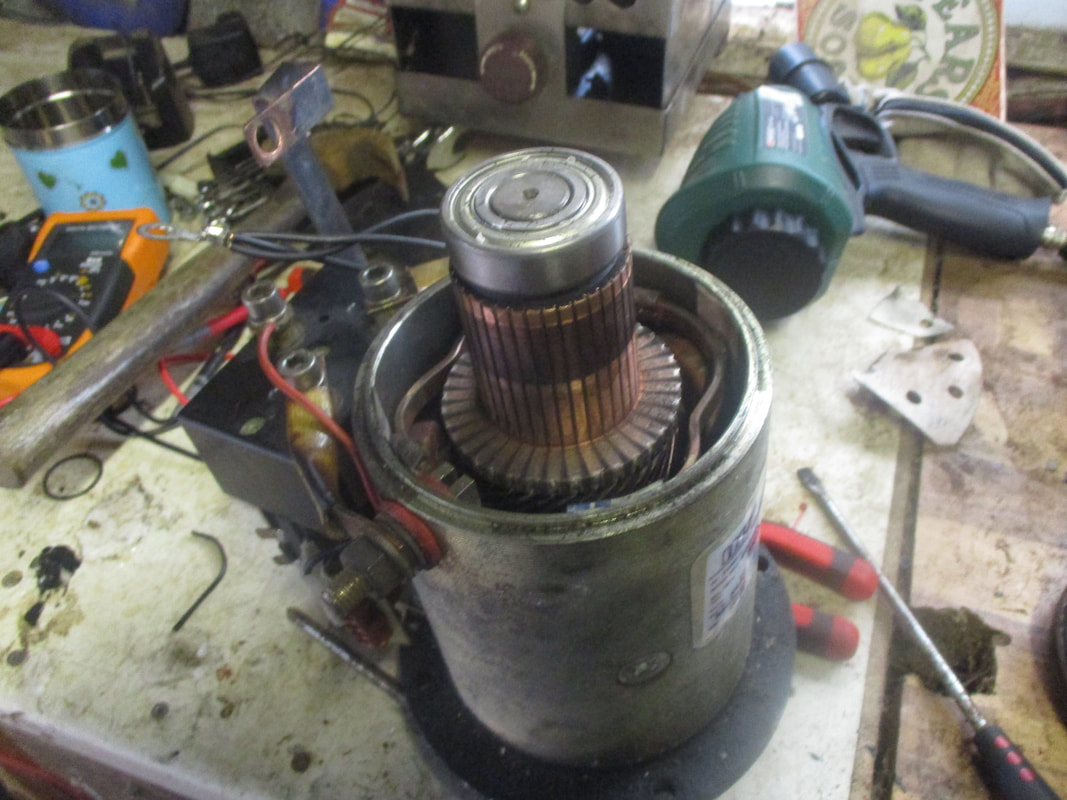
One big issue is the tank will not fit through the companion way or out of the wheelhouse doors so we need to come up with a plan to cut it down to be removed off the boat , so far we are thinking of cutting 2 inches of the top off which will enable us to take it off the boat revamp and install with a little more ease ? The day before we were to bring Roys joy home we sufferd our first mechanical failure and thought we were on fire . While maneuvering to the fuel dock at Brixham marina the Vetus bow thruster failed in spectacular fashion filling the boat up with smoke with a acrid electrical smell . After a quick inspection to make sure there were no flames and some careful maneuvering with a side wind we made it to the fuel dock . Since this we have been without the thruster which has not been a problem but it needed fixing . 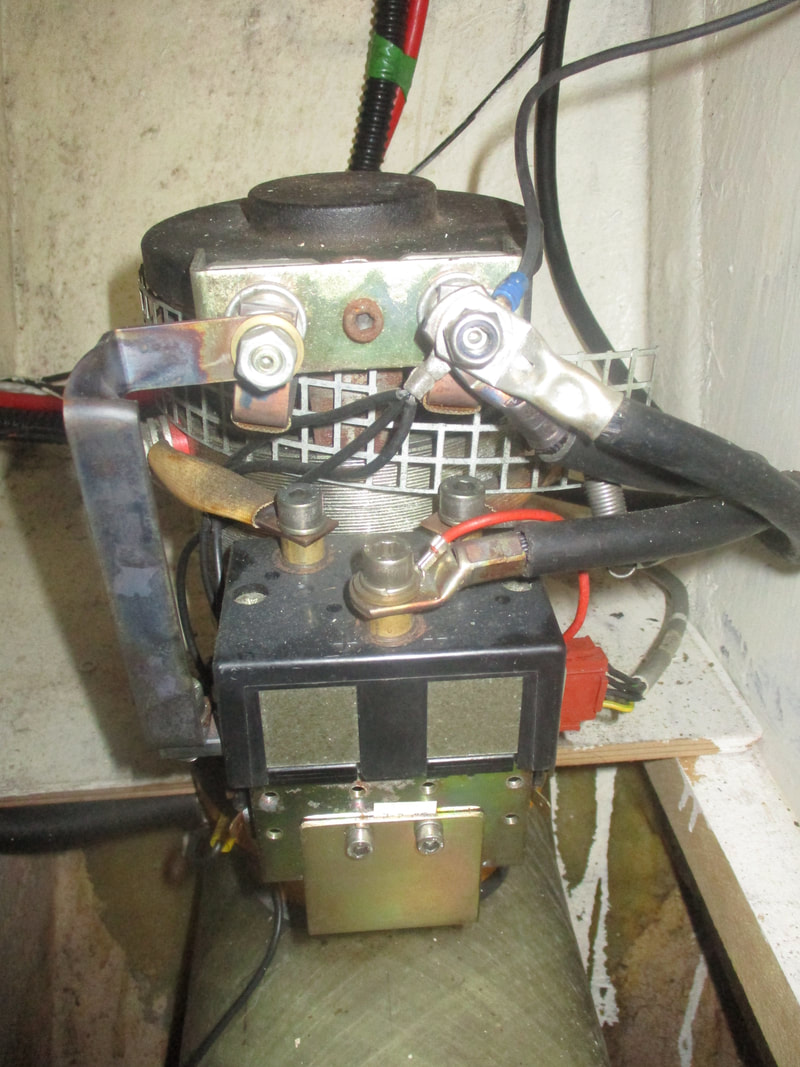 We have spent about 3 hrs on board trying to work out what went wrong but all we could get from the motor was the clicking of the solenoids . I have then also spent 2 hrs on the net researching this issue with minimal if info found , so the best thing was to remove the motor and get it home to try to sus out. The only thing visually i could find was a semi melted isolation washer for the supply to the field winding but otherwise that was it , First thing i wanted to check was the easy stuff , Brushes , connections , plugs etc . After the easy stuff i tested the solenoids which seamed to be working as they should , next was to take the whole motor apart and check the internals , Here there was some carbon build up and some light corrosion on some of the connections [ Remembering she hasn't been used in a very long time ] so these were cleaned up and the motor was put back together . Back to the solenoids , These are the easiest set ive ever come across to be able to check and fix . Take out 3 screws and you can take them apart to clean and inspect the contacts , simple . So after going over them cleaning every part and abrading the contacts a little it was time to put them back together . 1st time i managed to fit the lower plastic spacer on back to front but 2nd time they went back fine and Tested all ok so now to put them back on the motor and see if there was any life . ALIVE and kicking , Seams it must of been the solenoids not having a good contact , Although there was voltage passing i didn't check to how much with the multi-meter at the start as no expert with them, But it has been a good exercise . I have now learnt how the whole unit comes apart and how to check everything for the next time we have an issue so one bonus out of it all . 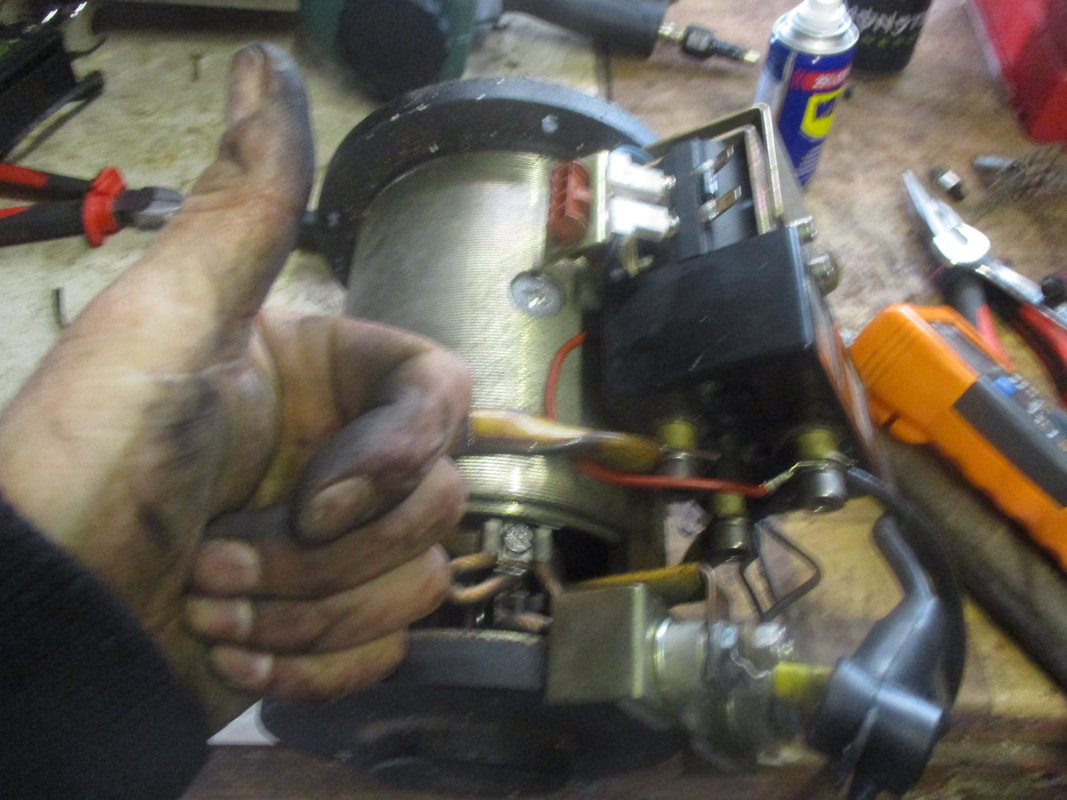 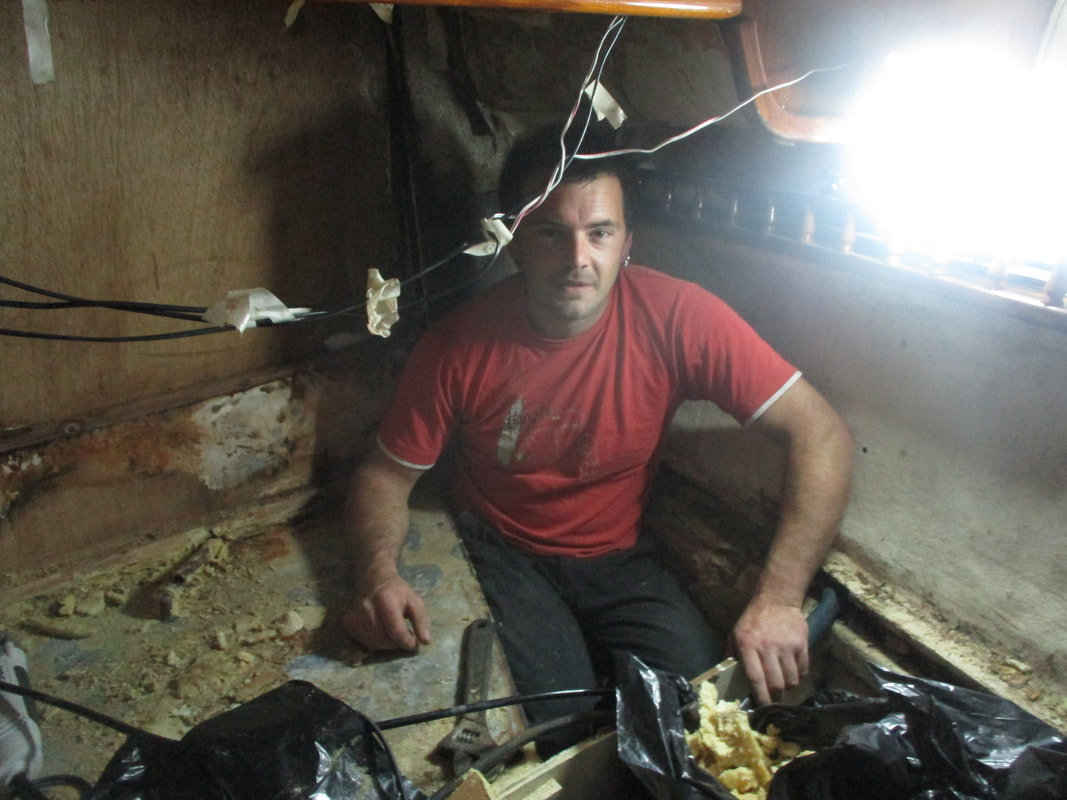 The ongoing removal on one of the water tanks has been mainly taken up with removing all the foam infill and other junk chucked in the space around the tank . We also found the what i taught was a GRP tank is actually a galvanized steel tank just it had a GRP sheath over the top. So far we have removed 12 bin bags of foam and timber out with another 3 - 4 to come out , then we can hopefully remove the tank so we can start work on the timber repairs and working out what to reinstall for a new tank We are just looking up if we can fit flexi tanks or just to go for new rigid off the shelf tanks 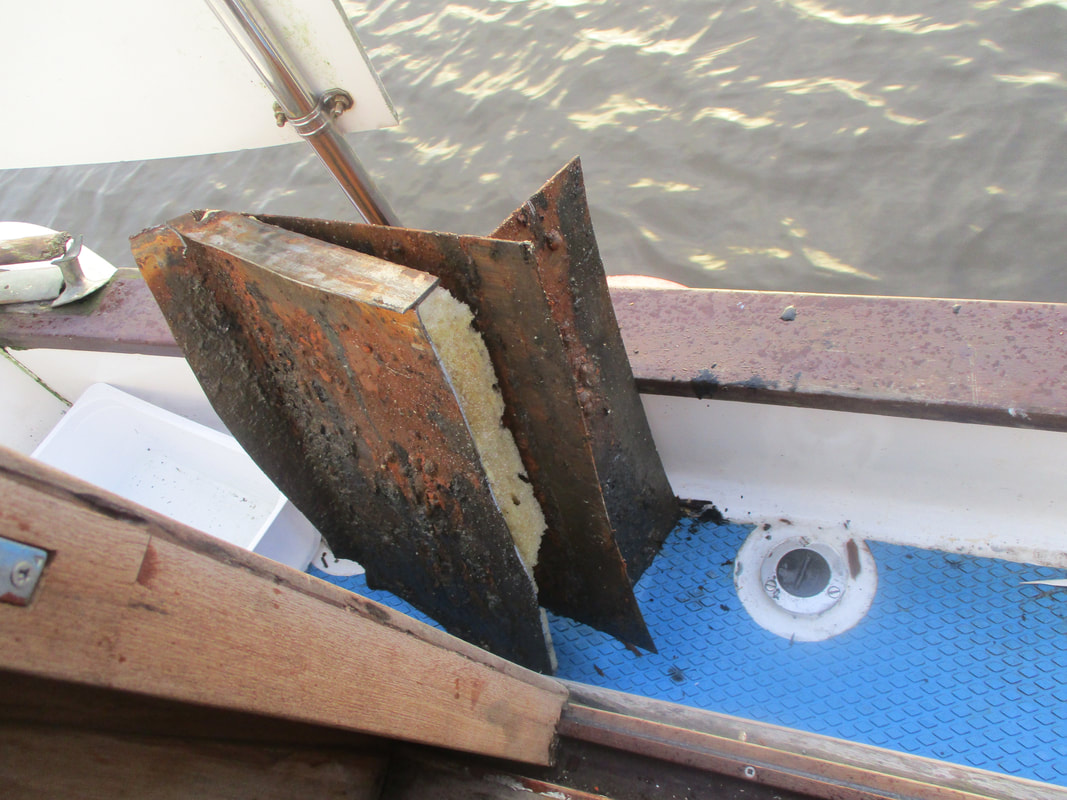 After getting the top of the tank of we could see just how bad the internal condition was The problem now was that due to the fact it was foamed in to place with the hydraulic steering pipes passing through the foam we were going to have to remove bit by bit . I didnt want to use an angle grinder due to the flammability of the foam and also being right next to a battery bank and also one of the 400 ltr fuel tank's. so out came the jigsaw and metal blades and on went the slow painstaking removal section by section . In all it took me about 25hrs over 6 weeks to finally get the tank out but not after going through 3 cutting disks , 3 packs of metal blades and breaking the inverter on 2 occasions . 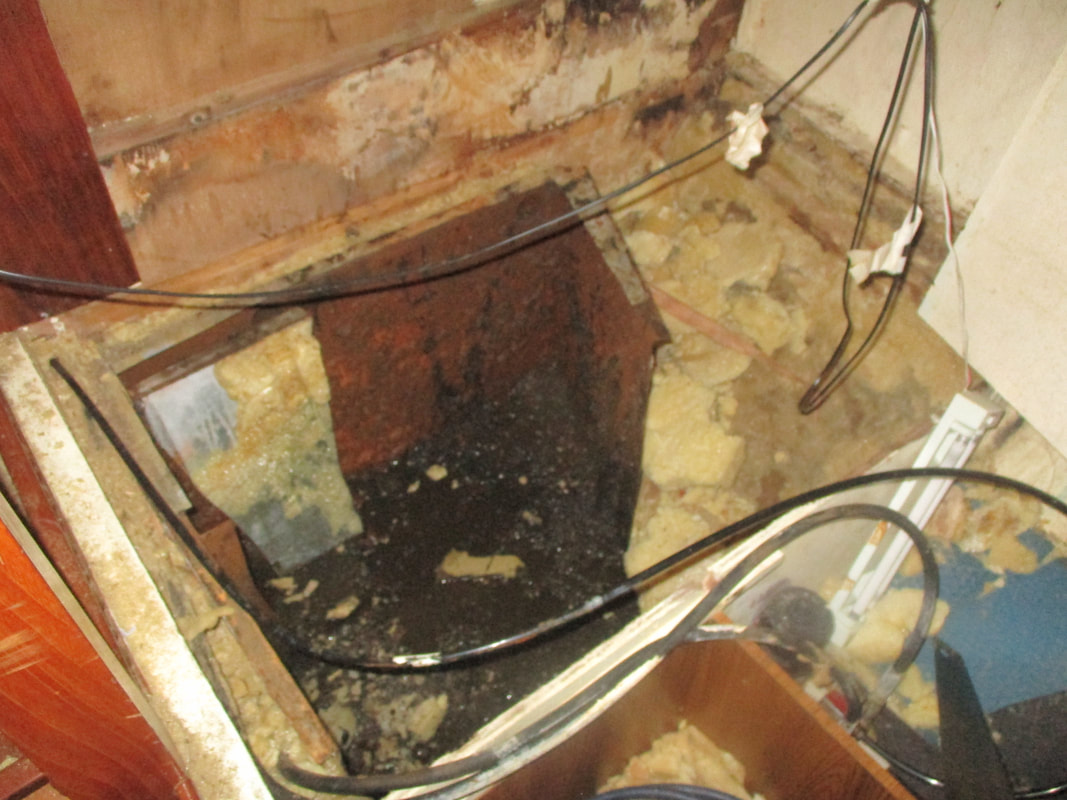 After getting the tank out there was a good old cleanup job needed in the aft cabin , there was some black spray off the angle grinder fro the internal sludge - foam to remove where i could not get to beforehand and to remove all the rot in the bulkhead ready to be replaced . On top of this everything that was stored on the bunk is now piled up at the back of the cabin and this needs resorting as the contents of this stuff is our spares - materials and tools for the work on board . 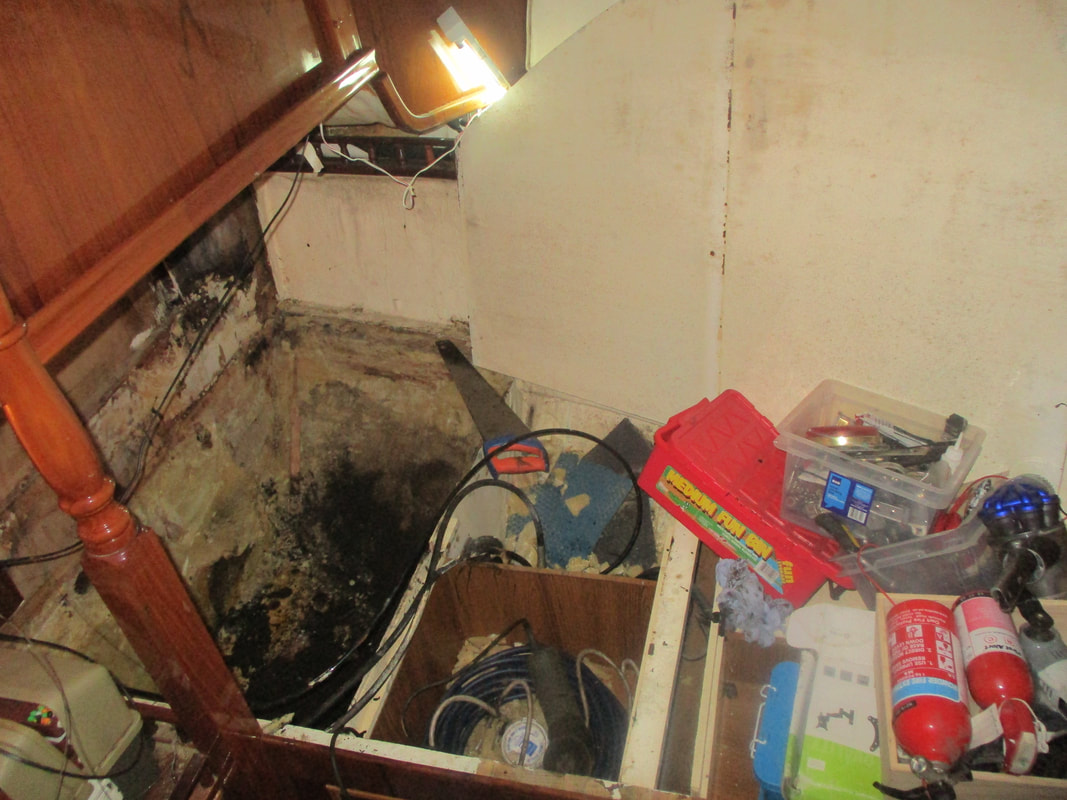 After good clean up it was the task of putting the jagged parts of the tank in the tender and getting it to the slip without puncturing it on the way ready to add to the scrap pile 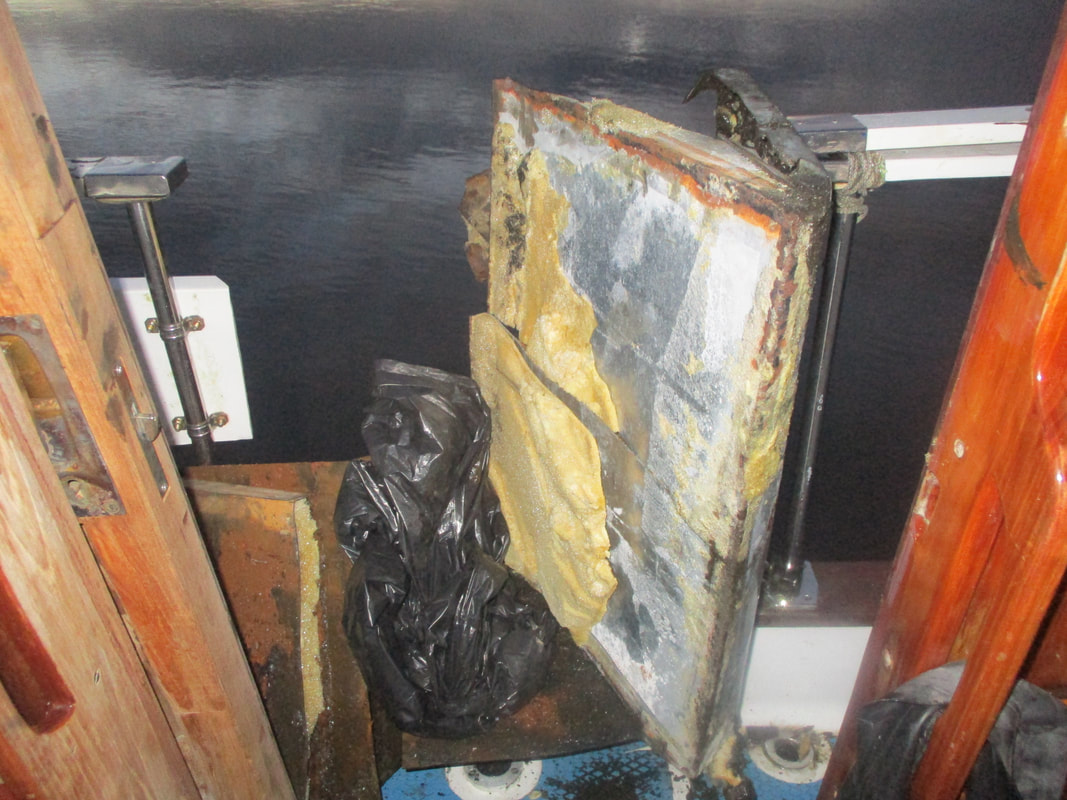 So the plan was to get the measurements of the space and find a tank to fit , ready for the christmas holidays to start refitting . This was put off thanks to finding out the only way we can get the fuel tank out is back through the aft cabin , otherwise we would need to remove the engine to get it through the engine bay . So now instead of refitting the aft cabin and water tank we start on the fuel tank removal which commenced the week after completing the water tank removal on Christmas eve . 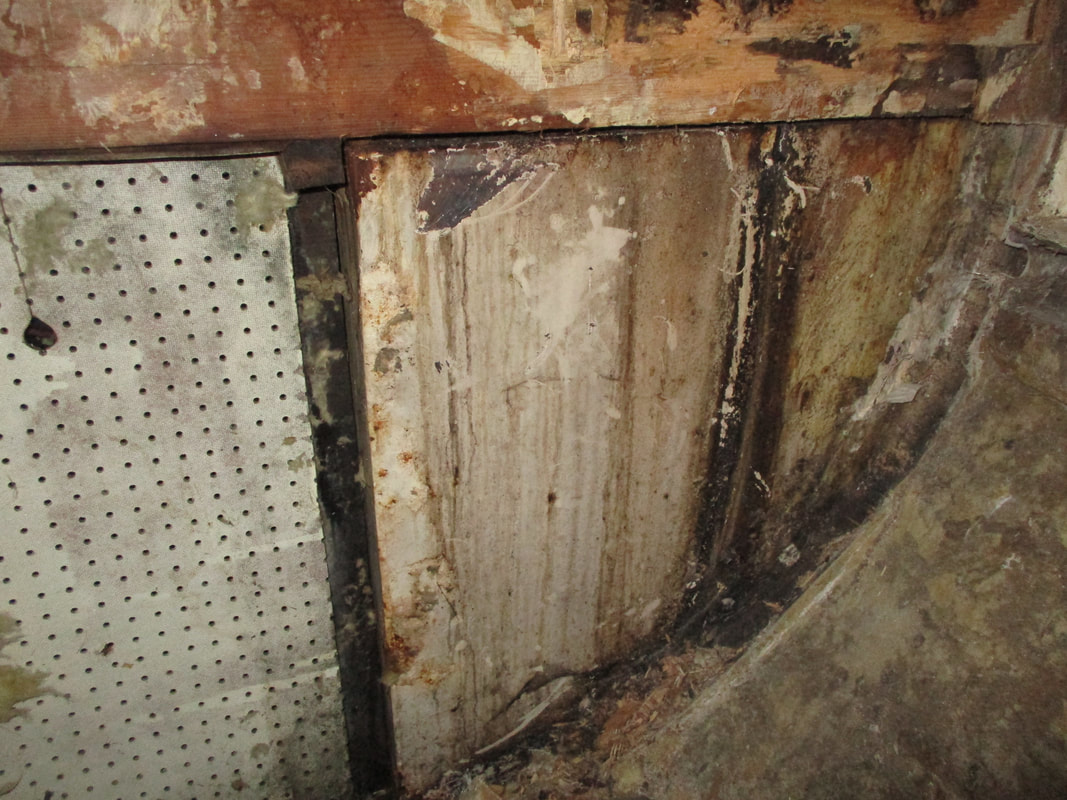 So 2 weeks of odd evenings out on the river chopping away boarding and boxing , removing cables and cutting access holes and even more foam removal . Finding there was not much holding the tank in appart from a few brackets [which were not accessible] and the foam i thought this may be a easy job compared to the water tank . How wrong could i be ?? To be continued !! |
AuthorOne family renovating a Colvic Watson and preparing for an epic adventure Archives
April 2018
Categorieshttps://www.facebook.com/hambleys/
|


 RSS Feed
