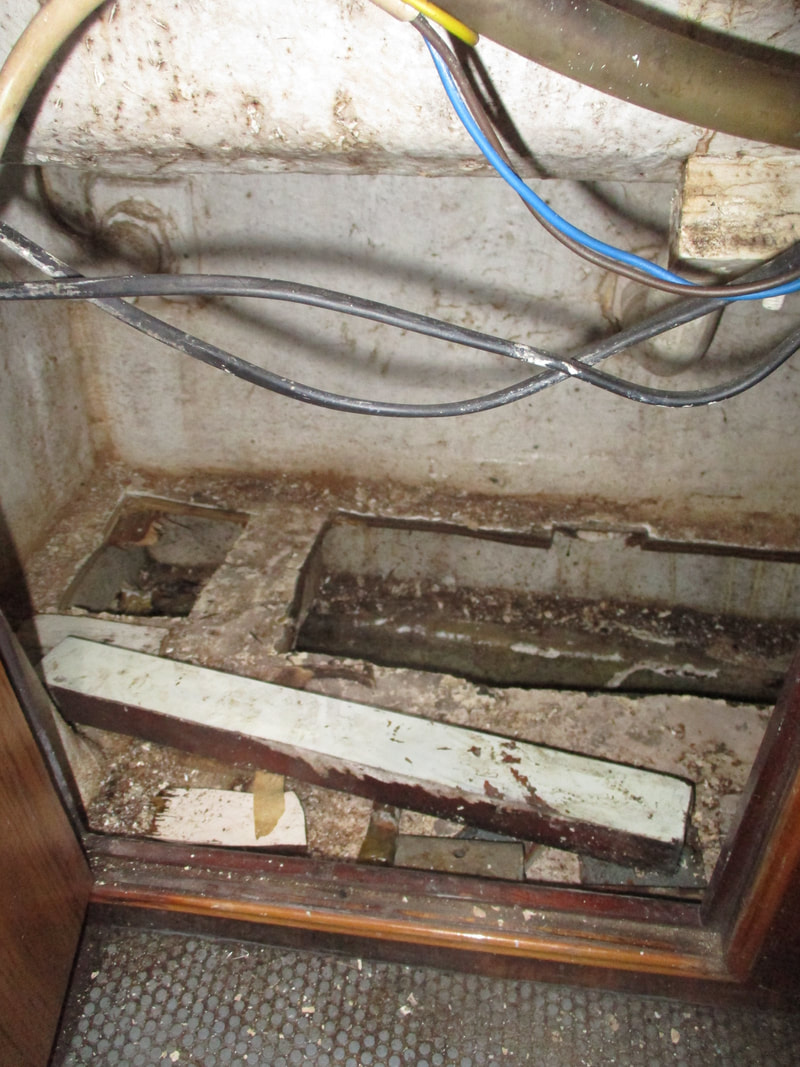
 Another overnighter on board Roysjoy cracking on with winter DIY , This time it was clean up time and sealing leaks . First on the list was to replace the deck fillers that i had taken home to recondition and also make up new packers for . Due to the weather i was unable to get these back on but i did manage to seal u a deck drain, This was found to be made out of a sink drain cut up bodge style and simply glued together with sealant hence the reason for leaks . So i refitted with new sealant until i can find 4 new replacement fittings . Next was sealing the port wheelhouse door this area has some rot in it and untill the weather improves i am unable to replace this but i did find a way of sealing it to prevent 99% of the water ingress so happy with that for the time . 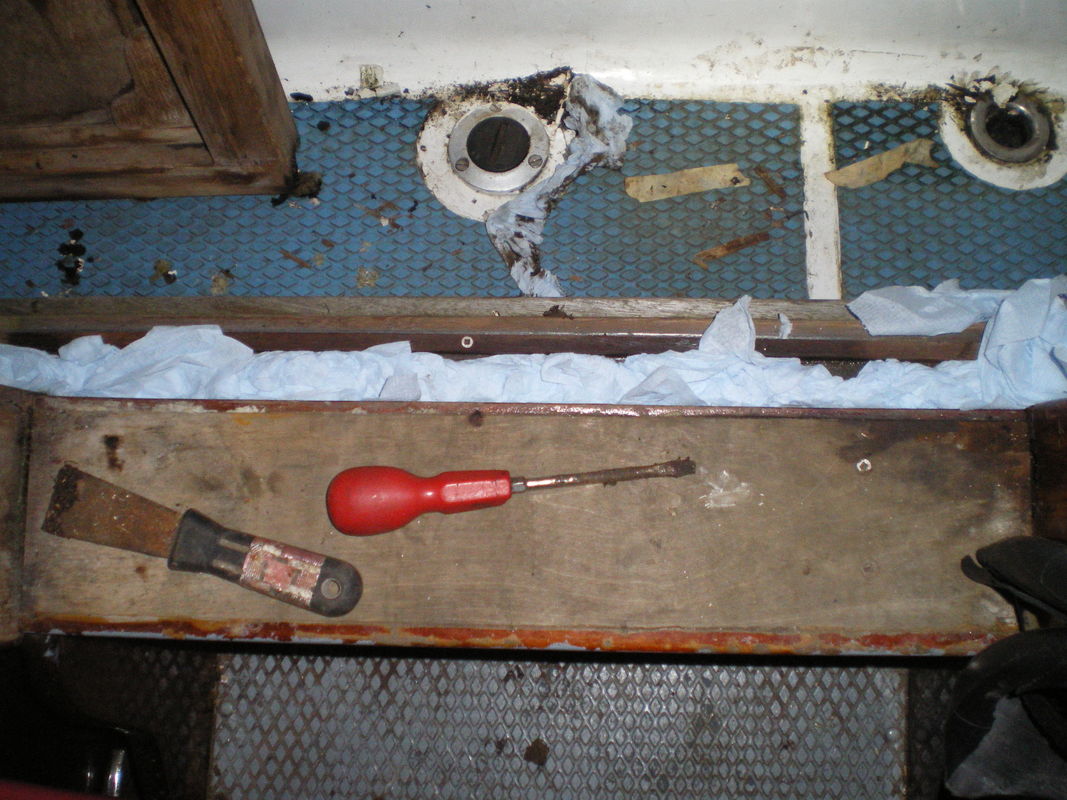 On from here I gave the aft cabin a spring clean and tidied up all the spares and tools ready to start refitting the fuel tank and replacing bulkheads in the near future . I also found another dinghies full of foam and rubbish which was swiftly removed giving up more room to work with in what i currently call the workshop [master cabin]. Again we looked in to other soon to do jobs like the 2 mast suppression posts / pads both of which prevent us from sailing in anything other than a gentle wind and need to be fixed by the start of summer for us to be able to use the boat properly through the next sailing season . another area i have found to be in been of replacement was the under locker floor where the water tank was sat , this is needing replacement as it has rotted away - another ob on the to do list . Sorry for the lack of photos for this update for some reason my crappy cam didn't record many of this weeks work although luckily it did record video for the youtube upload which can be found below
0 Comments
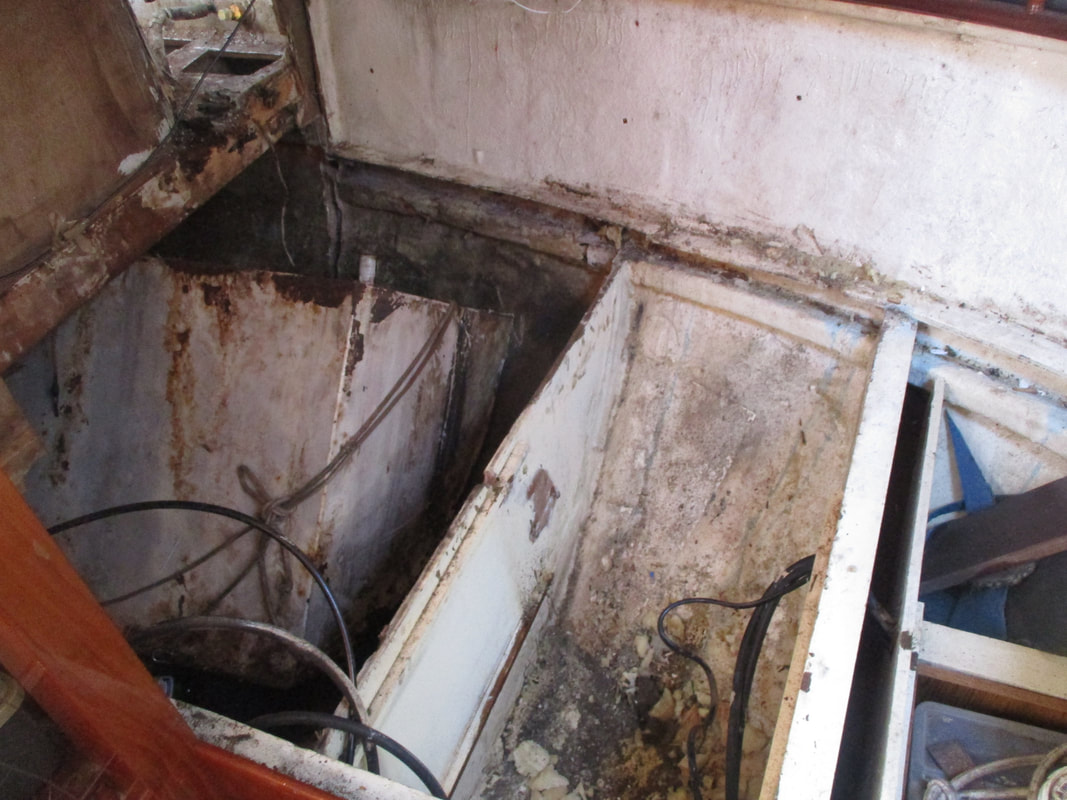
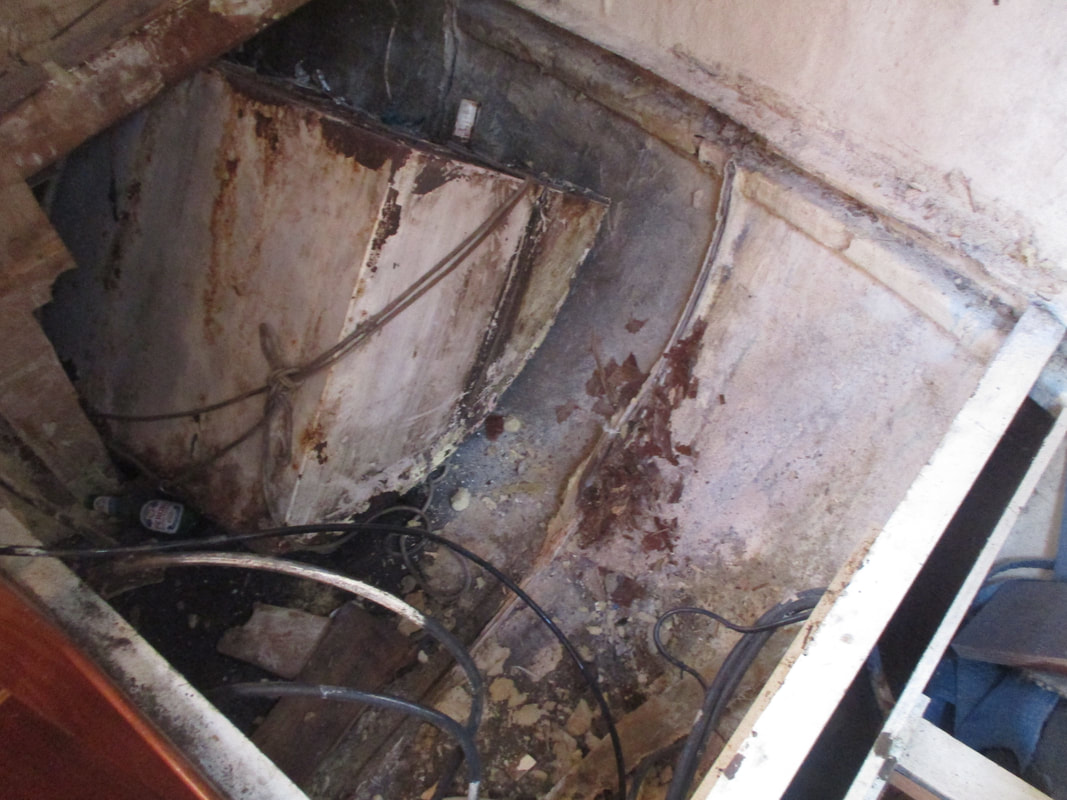
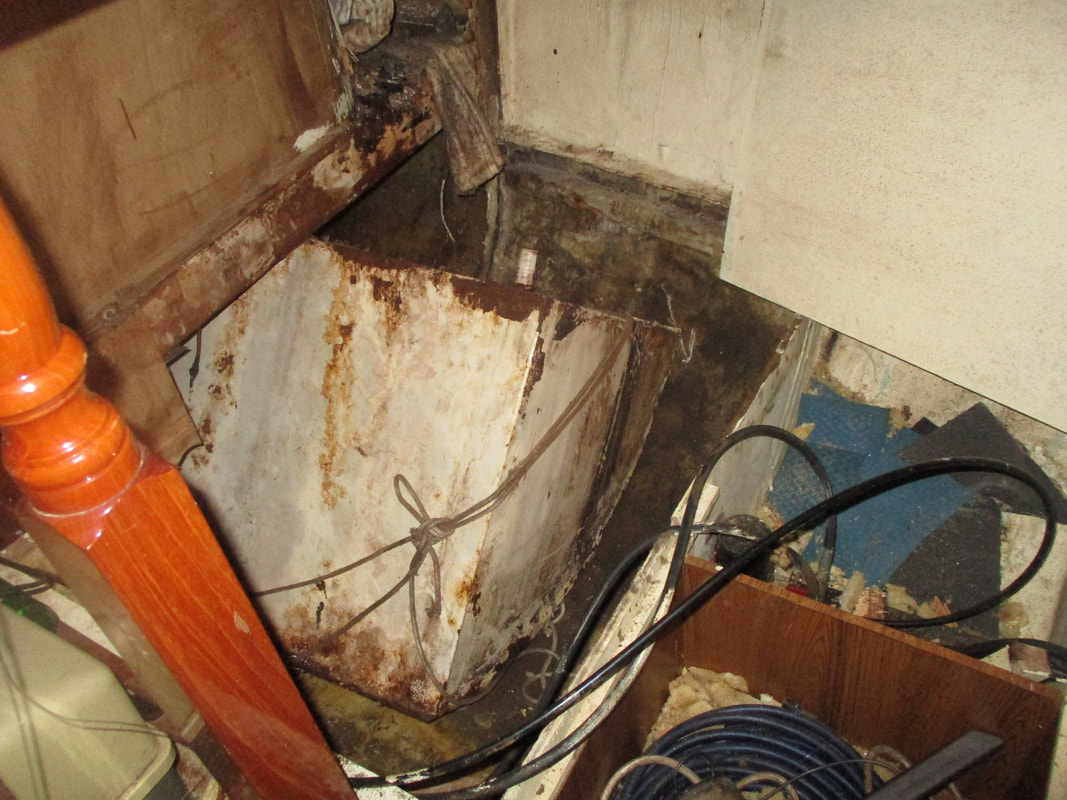
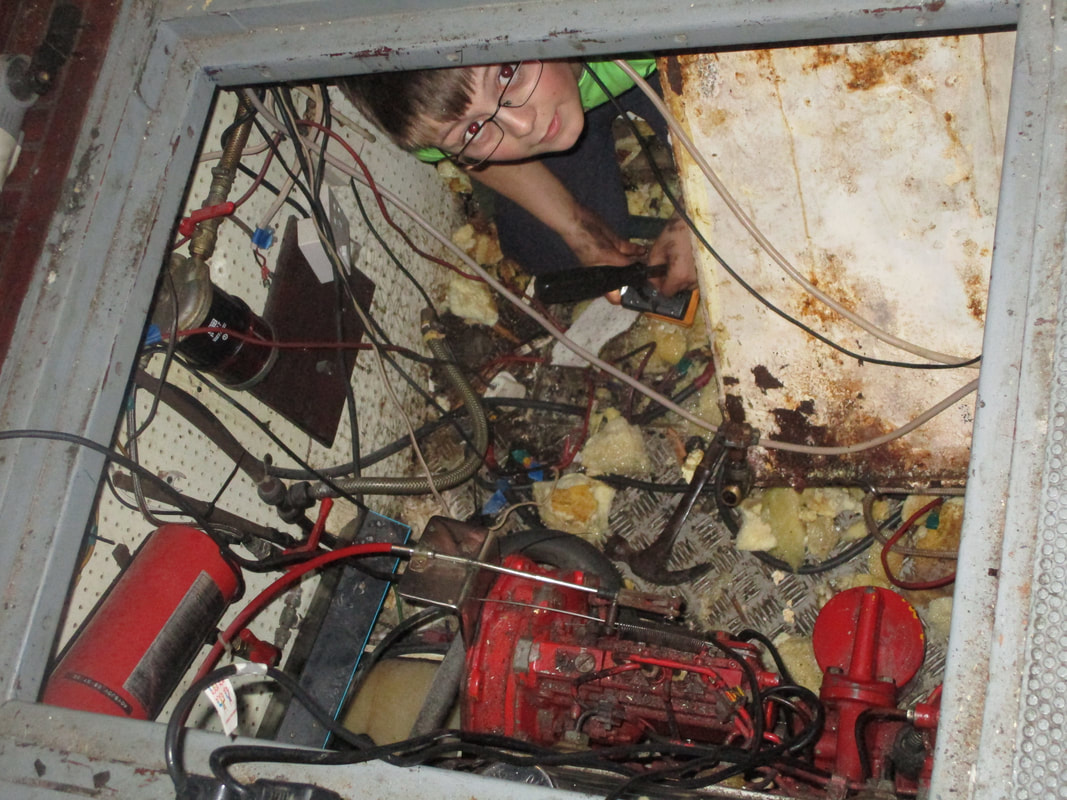
 What a change it makes to be carrying out work in daylight and at a reasonable hour of the day . This time i had the help of Jake again for a 4 hour sunday morning work party to hopefully get the fuel tank right out in to the aft cabin hopefully out of the boat all together . First job of the day was to remove the hyd steering pump and the bulkhead it was attached to to make room enough to extract the fuel tank from its hole in the engine room . This as fairly straight forward and 30min later and a little hacking at the tabbing with a angle grinder had this obstacle out of the way . Next came the hard part , Trying to wiggle the tank out through the side of the engine room in to the now opened up space in the aft cabin and then lift it free of the hull on to the bunk frame . There was only 1/4 inch of "wiggle" room to get it under the deck beam after i had to cut a 2inch section out to accommodate the lip of the tank but luckily the plan was a success and within 10 min of pushing and pulling we had the tank sat on the bunk frame ready for the next stage of extraction. 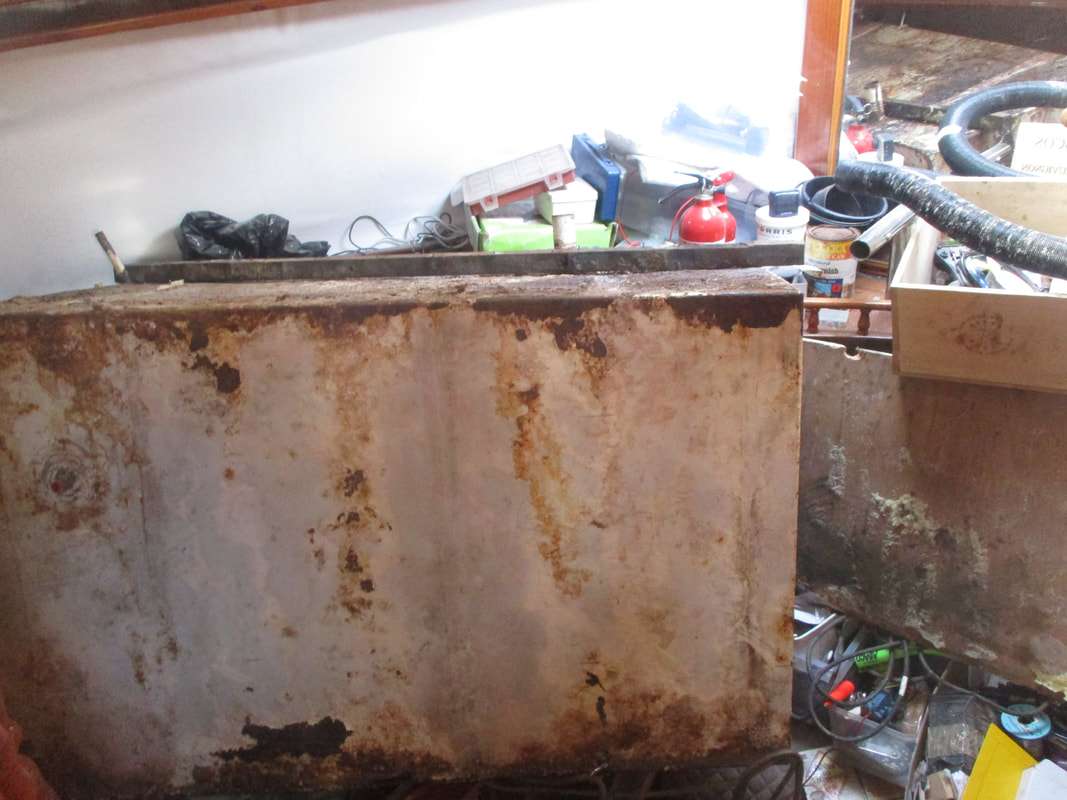 Some of you may remember me saying in an earlier post that the tank was one of the first parts of the boat to be fitted at her time of build , This was evident when we realised that the tank was too big to come out of the engine room hatch without removing the entire engine , It was 4 inch too bit to come up the companion way steps from the aft cabin and also 4.5inch too bit to come out o the wheelhouse door . After allot of working out measuring, rethinking and head scratching the plan was set to cut 5 inch of the tank off to enable us to remove the tank inspect the interior and clean out if found to be good . More effort and head scratching came in to play with working out which part to cut off .  Originally I wanted to cut the top of the tank off as this was the most corroded section although this would mean i had to cut over 8 inch off to make it small enough to get out of the boat this would of been ok but it would of removed almost 1/2 the tank capacity as the top area was the widest so the decision was made to cut the whole front panel off up to 4,5inch removing only about 1/10th of the capacity and also removing the bent drain pipe and now snapped vent pipe . As there was still some fuel residue in the tank i could not use the trusty angle grinder due to the big risk of fire so we went back to the same method we used with the water tank the jigsaw . Biggest problem was i only had the cheapo leftover pack of blades and we found that these are great to cut with but they were very brittle blades and used the whole pack cutting 3/4 of the first line so we left it there until i can get hold of better blades and got on with other jobs onboard . Deck fillers and solving leaks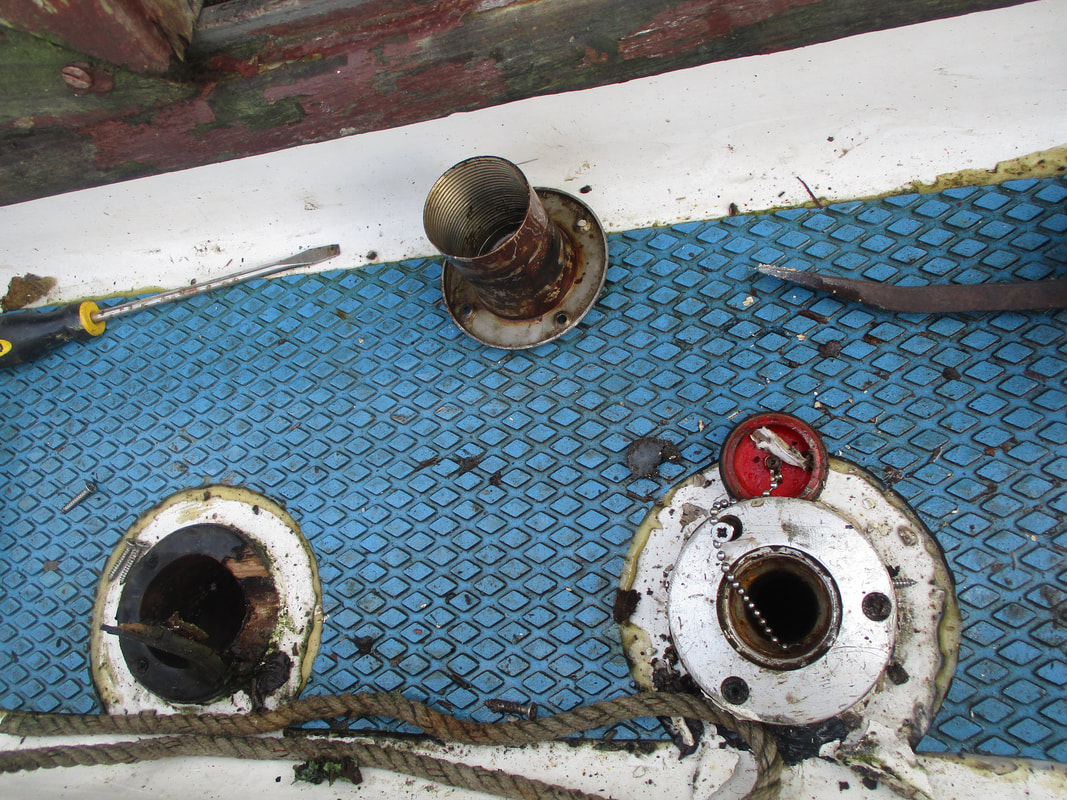 On both sides of the wheelhouse there is a section of under deck storage that is always wet . Through this area the deck drains run and the deck fillers are also located along with a few other fittings and it was these that were the cause of the wet . The net job of the day was to work on the starboard side fittings remove and re seal until it came to getting them out . We found that one was fitted over an older filler location and this was filled with filler although badly done this was an area where water was evidently getting under . The other filler was set in to a plywood riser that was badly sealed and not weatherproofed so was soaked and obviously the cause for more ingress . Both of these fittings needed a real good clean up so we blanked the holes with a cheap sealant and some pvc offcuts and the fittings were taken home to be overhauled . One last fitting was a big eye bolt that is for the safety line this was set on a hardwood pad but we found not sealed at all , this will be relocated and a new pad made up . 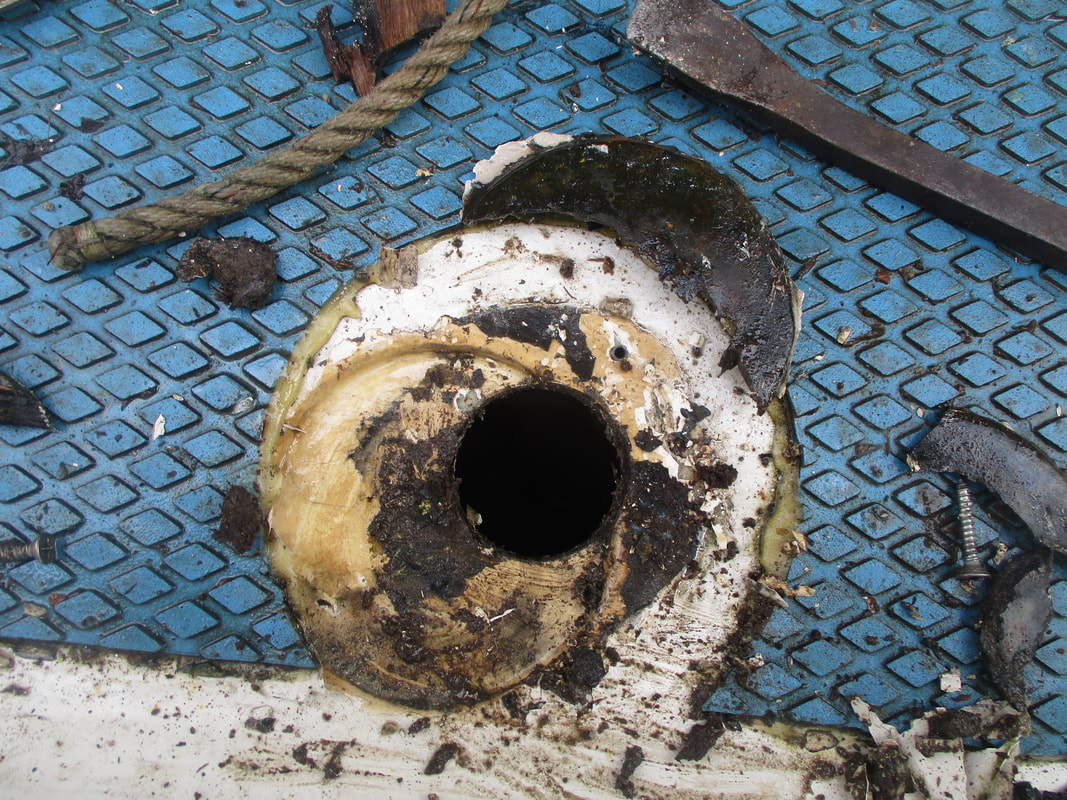 After the jobs were done for the day it was time to remove the last of the rubbish off the boat , Most was the paneling from the engine room , more insulation and the remains of the battery box i cut out on the last visit Hopefully next weekend we will finally have the tank out and ready to be revamped ?? 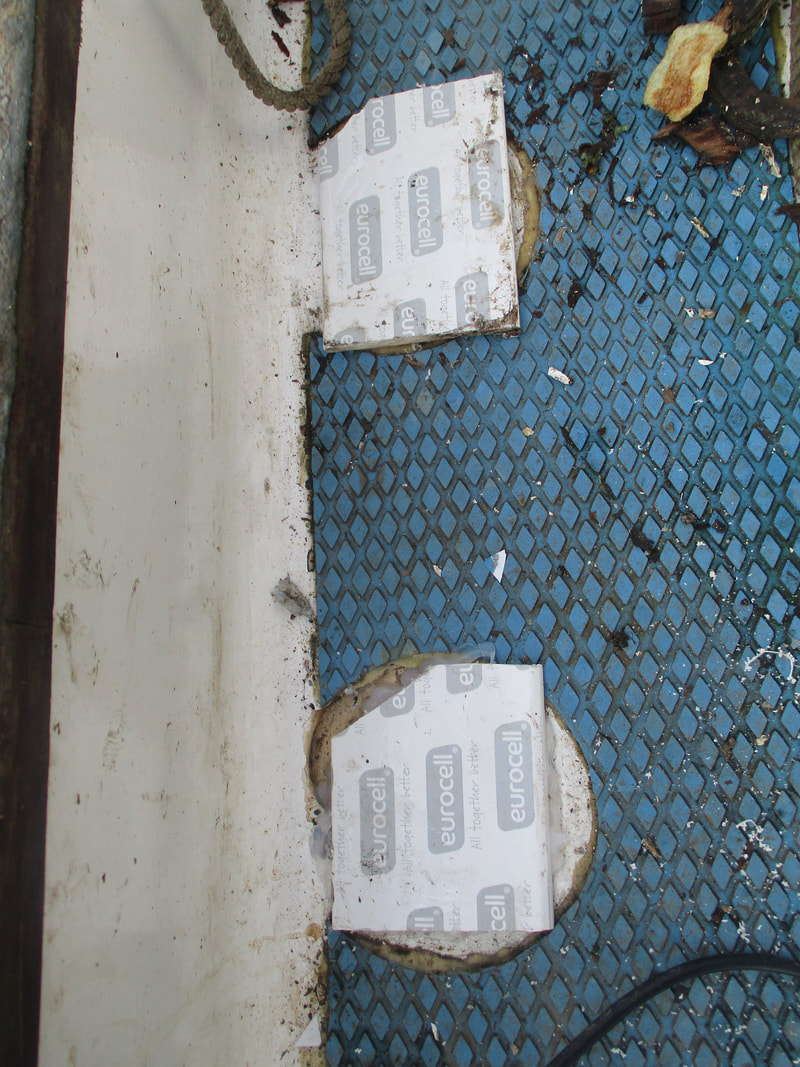  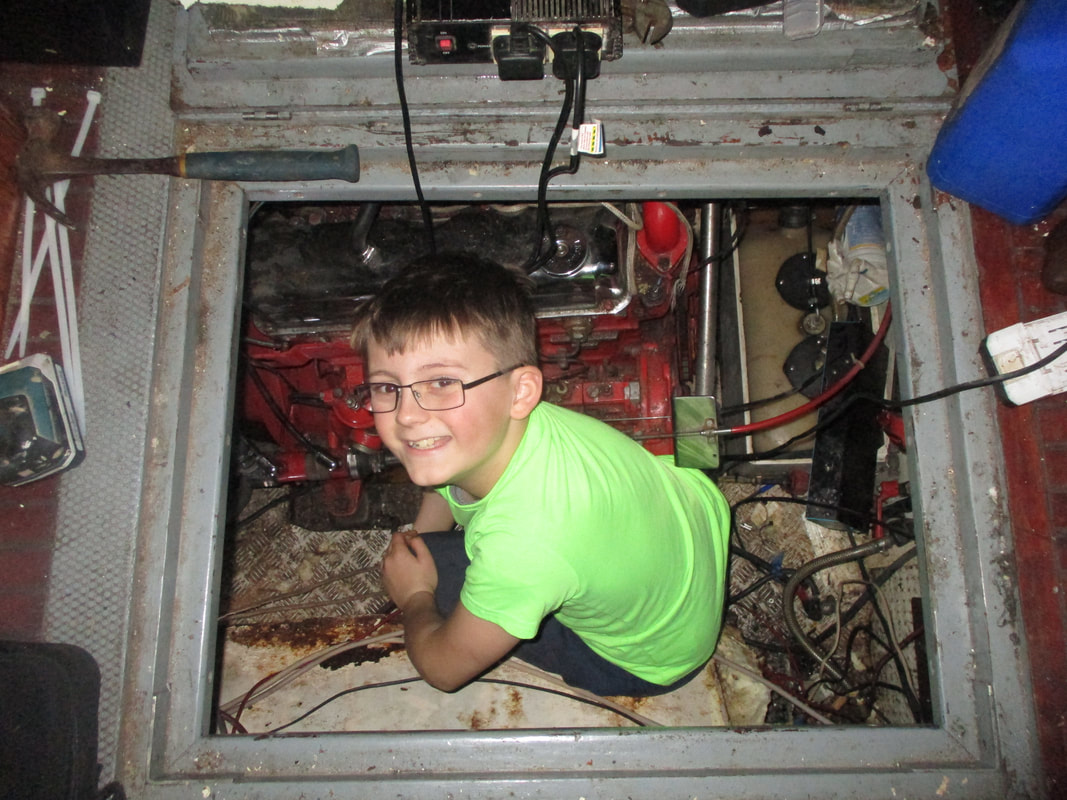 Following on from the water tank removal we should now be starting to replace that but found that the fuel tank that was net on the list can only come out through where the water tank was going to be .This has now been given priority as we cant do any more to the water system until the fuel tank is either revamped or replaced and refitted . so on we cracked with this job over December 2017 . First was to empty the 400ltr aprox of fuel , this took 4 evenings of ferrying jerry cant to the slip and taking home in to a holding tank ready for polishing later on . Next was to remove all the insulation and boarding , pipes, wires and everything else that was ran along side the fuel tank in the engine bay . We also found that the battery box no 2 had to be removed as it was glassed in the engine room deck and prevented access to the fuel tank fixings . 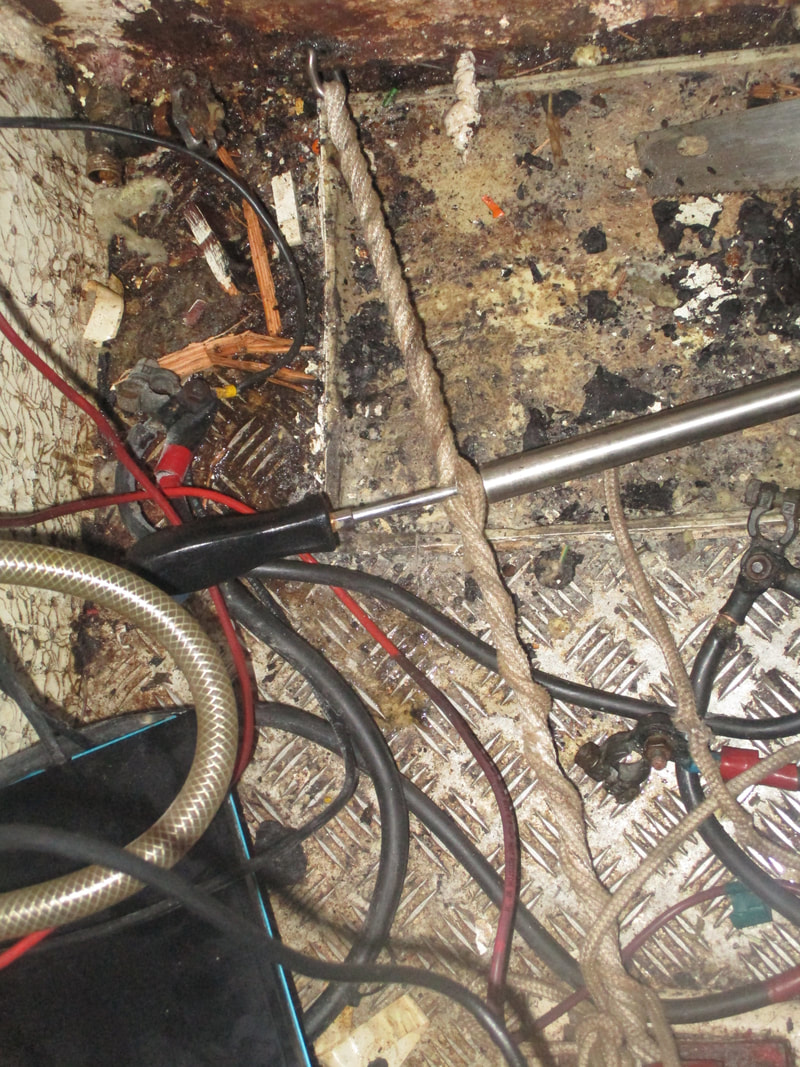 Due to the tank being one of the first things fitted when she was built it was a hell of a job to free it up . We had to cut out sections of the under deck bulkhead to get to the top fixings , cut groves in the deck beams and make a twist pull to free it off the hull sides thanks fo yet more foam being put behind it . After another 2 hrs of struggling to get the tank free from its hole we managed to get it part in the aft cabin and called it a night . Next step is removing the hyd steering and 2nd bulkhead so the tank can come right out in to the aft cabin .
One big issue is the tank will not fit through the companion way or out of the wheelhouse doors so we need to come up with a plan to cut it down to be removed off the boat , so far we are thinking of cutting 2 inches of the top off which will enable us to take it off the boat revamp and install with a little more ease ? |
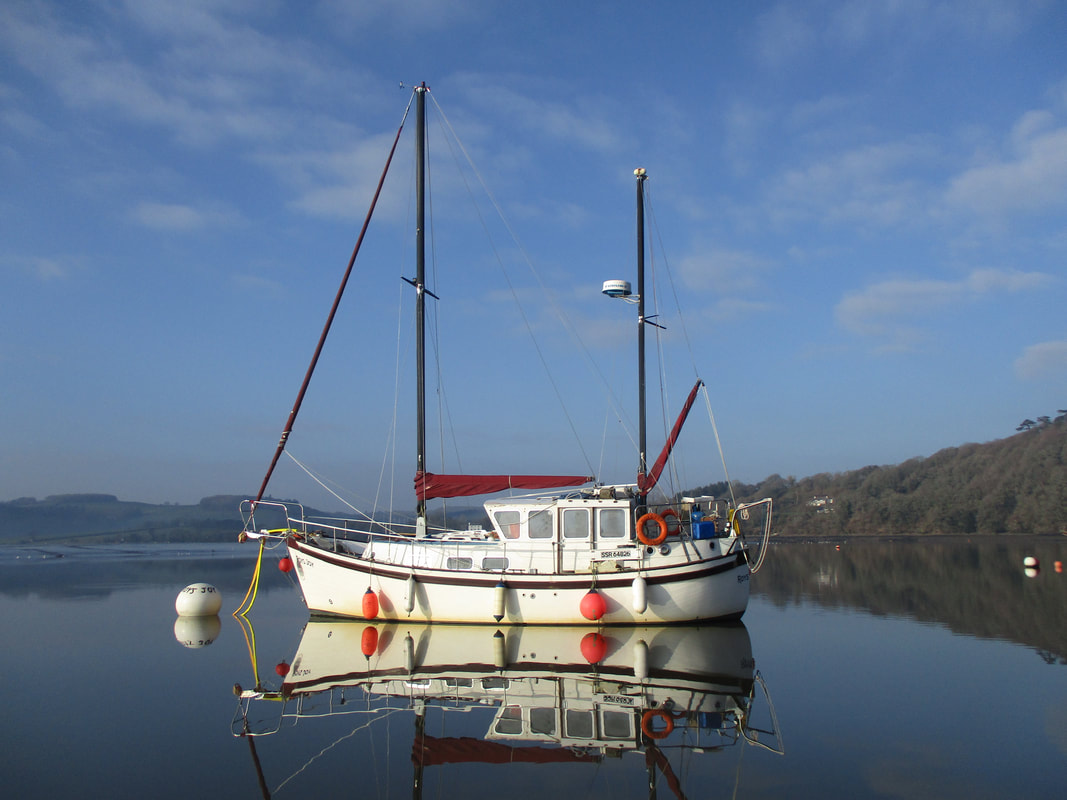
AuthorOne family renovating a Colvic Watson and preparing for an epic adventure Archives
April 2018
Categorieshttps://www.facebook.com/hambleys/
|
 RSS Feed
